
“`html
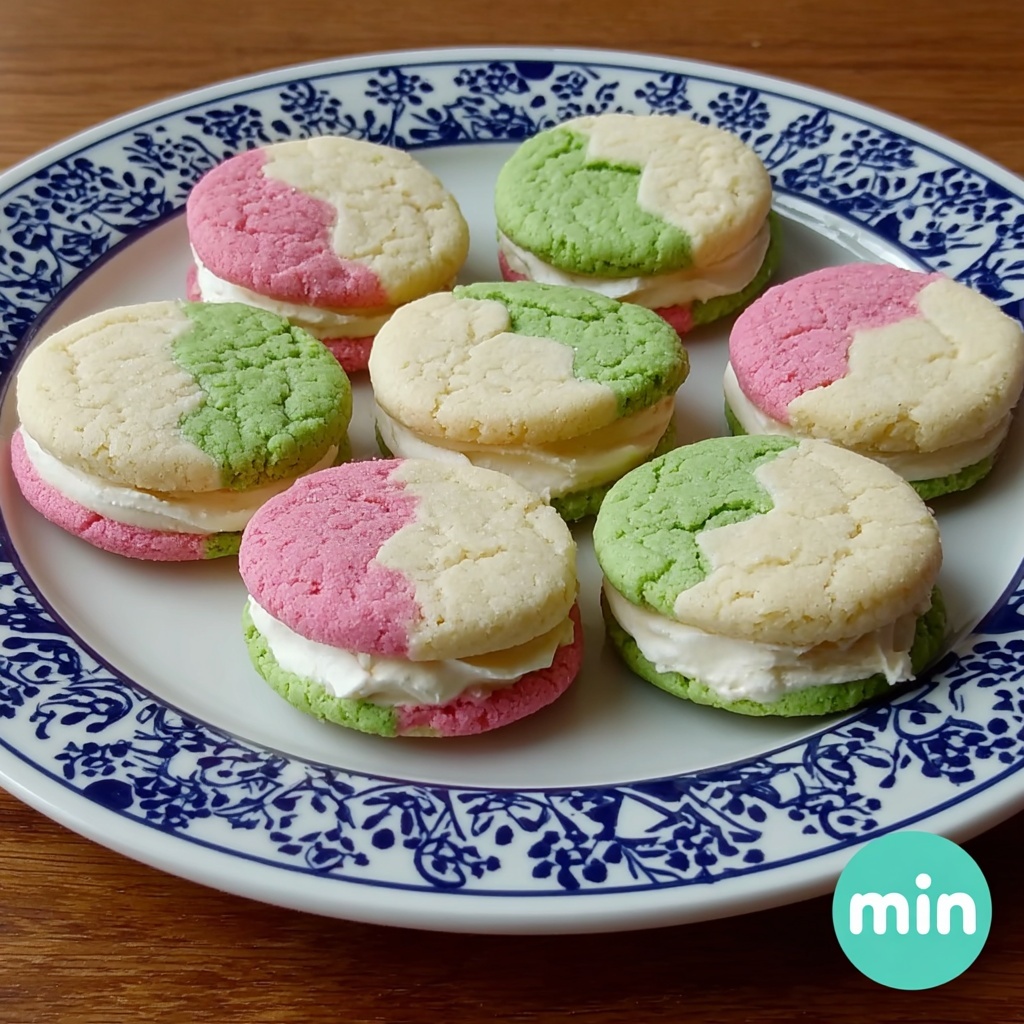
If you’re searching for a delightful treat that brings both joy to the eyes and sweetness to the taste buds, these Colorful Sandwich Sugar Cookies with Fluffy Filling Recipe are exactly what you need. Imagine soft, tender cookies tinged with vibrant hues, paired perfectly with a pillowy, melt-in-your-mouth filling that makes every bite feel like a celebration. Whether for a fun gathering, a festive occasion, or simply a cozy afternoon treat, these cookies are a charming way to brighten your day and impress anyone lucky enough to share them with you.
Ingredients You’ll Need
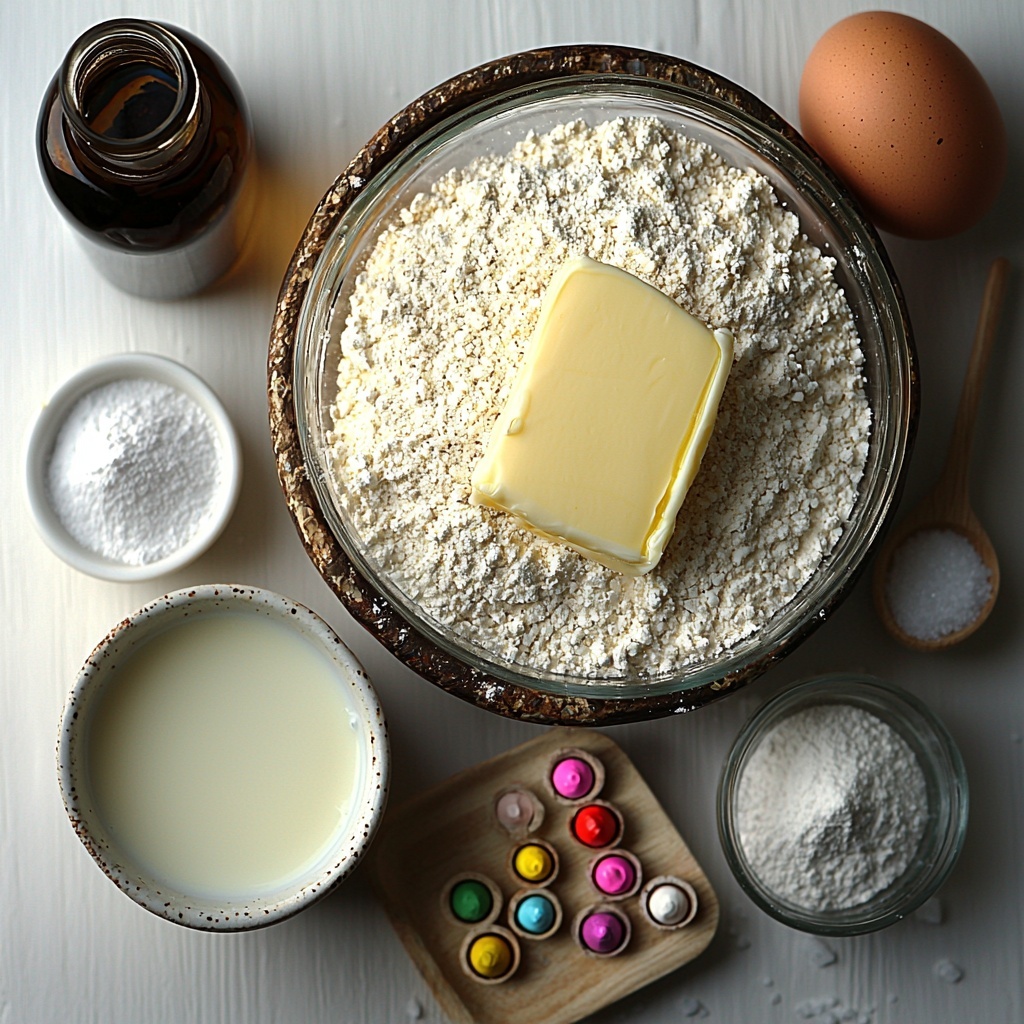
Though this recipe might look like a colorful masterpiece, the ingredients are delightfully simple and each plays a crucial role in creating those soft, flavorful cookies and the luscious filling that holds them together perfectly.
- Unsalted butter (1 cup, softened): Provides richness and tenderness to the cookies, ensuring that perfect melt-in-your-mouth texture.
- Granulated sugar (1 ½ cups): Adds sweetness and helps with the golden edges during baking.
- Large egg (1): Binds the ingredients together while adding moisture for a chewy softness.
- Vanilla extract (2 teaspoons): Infuses the cookies with a warm and comforting aroma that complements the sweetness.
- All-purpose flour (2 ¾ cups): The foundation of your cookies, offering structure that keeps them tender yet sturdy enough to sandwich.
- Baking soda (1 teaspoon): Leavens the dough for a light crumb and gentle rise.
- Baking powder (½ teaspoon): Works alongside baking soda to achieve that perfect balance of texture.
- Salt (½ teaspoon): Elevates and balances the sweetness in the dough.
- Milk (2 tablespoons): Adds moisture, making the dough pliable and soft.
- Gel food coloring (various colors): Brings the delightful pop of color that makes these cookies so inviting and fun.
- Unsalted butter (½ cup, softened for filling): Creates a creamy base for the fluffy filling between the cookies.
- Powdered sugar (2 cups): Sweetens and thickens the filling to the perfect consistency.
- Heavy cream or milk (2 tablespoons for filling): Lightens the filling and gives it that airy fluffiness.
- Vanilla extract (1 teaspoon for filling): Adds depth and a luscious hint of sweetness to the filling.
- Pinch of salt (for filling): Balances the sweetness and enhances the overall flavor.
How to Make Colorful Sandwich Sugar Cookies with Fluffy Filling Recipe
Step 1: Prepare Your Oven and Baking Sheet
First things first, preheat your oven to 350°F. This ensures that once your dough is ready, your cookies will bake evenly and develop just the right texture. Line a baking sheet with parchment paper for easy removal and clean-up—trust me, it’s a game changer.
Step 2: Cream the Butter and Sugar
Using a mixer or a sturdy spoon, beat the softened butter and granulated sugar together until the mixture becomes light and fluffy. This step is key because incorporating air into the butter will help your cookies have that delicate, tender crumb that practically melts in your mouth.
Step 3: Add Egg and Vanilla
Mix in the egg and vanilla extract thoroughly. The egg adds moisture and helps bind everything together, while the vanilla brings that irresistible, warm aroma that makes these cookies feel like a hug in dessert form.
Step 4: Combine Dry Ingredients and Mix
In a separate bowl, whisk together the all-purpose flour, baking soda, baking powder, and salt. Gradually add these dry ingredients into the wet mixture. The gradual mixing prevents toughness by avoiding overworking the gluten while ensuring all the ingredients are well incorporated.
Step 5: Incorporate the Milk
Stir in the milk to bring everything together. This adds the perfect touch of moisture, making it easier to manage the dough and creating soft, tender cookies that aren’t dry or crumbly.
Step 6: Divide and Color the Dough
Divide your dough into portions depending on how many colors you’d like to work with. Add gel food coloring to each portion and knead gently until the colors are vibrant and evenly distributed. The gel color works beautifully without making the dough too sticky or runny.
Step 7: Shape Cookie Dough Balls
Roll tablespoon-sized pieces of dough into smooth balls. Then place them about 2 inches apart on your parchment-lined baking sheet to give them room to spread and bake evenly into perfect rounds.
Step 8: Bake the Cookies
Bake your cookies for 8-10 minutes or until the edges are set and the tops develop slight cracks. You’ll know they’re just right when they still look soft but are firm enough to handle without breaking.
Step 9: Cool Completely
Allow the cookies to cool fully on the baking sheet or on a wire rack. This step is crucial because warm cookies can cause the filling to melt or slide off when assembled.
Step 10: Prepare the Fluffy Filling
Beat the softened butter, powdered sugar, heavy cream or milk, vanilla extract, and a pinch of salt together until the filling is smooth and fluffy. This creamy cloud of sweetness will be the magic that holds your colorful cookies together in sandwich perfection.
Step 11: Assemble the Sandwich Cookies
Spread a generous amount of the fluffy filling onto the flat side of one cookie and gently press together with another cookie of a matching size and color. Let them set for about 10 minutes to firm up the filling into that perfect sandwich shape.
How to Serve Colorful Sandwich Sugar Cookies with Fluffy Filling Recipe
Garnishes
For an extra special touch, sprinkle a tiny bit of edible glitter or colored sugar on top of the filling before sandwiching the cookies together. Fresh edible flower petals or a light dusting of powdered sugar can turn your cookies into edible works of art that are almost too pretty to eat.
Side Dishes
Pair these vibrant sandwich cookies with a warm cup of tea, a cold glass of milk, or a fruity sparkling beverage. Their sweet and fluffy nature complements a variety of drinks wonderfully, making any teatime or dessert spread feel truly festive.
Creative Ways to Present
Arrange your Colorful Sandwich Sugar Cookies with Fluffy Filling Recipe on a tiered dessert stand for parties or use a decorative box tied with a bright ribbon to share as a sweet gift. You can also stack them in clear jars with colorful tissue paper for a fun, eye-catching display perfect for celebrations or gifting.
Make Ahead and Storage
Storing Leftovers
Store your finished cookie sandwiches in an airtight container at room temperature. They will stay fresh and soft for up to a week, making them a fantastic treat to whip out anytime you need a little sweetness with a burst of color.
Freezing
These cookies freeze beautifully! Simply place them in a single layer on a baking sheet to freeze individually, then transfer them to a zip-top bag or airtight container. When ready to enjoy, thaw them at room temperature for about an hour. The filling will remain fluffy and the cookies soft.
Reheating
While these sandwich cookies are best enjoyed fresh or at room temperature, you can warm them slightly in a microwave for 10-15 seconds to revive that fresh-baked softness. Just be careful not to overheat or the filling may become too soft and slippery.
FAQs
Can I use food coloring other than gel?
While liquid food coloring can work, gel food coloring is recommended for this recipe because it imparts vibrant colors without altering the dough’s consistency. Liquids might make the dough too sticky or soft.
How do I make sure my cookies are the same size?
Using a tablespoon to scoop the dough and then rolling into balls helps keep the sizes consistent. You can also weigh the dough portions for absolute precision if you want perfectly uniform cookies for sandwiching.
Can I substitute the all-purpose flour for a gluten-free alternative?
Yes, a 1:1 gluten-free baking flour blend should work, but keep in mind the texture might be slightly different. It’s best to choose a blend formulated for cookies and try a small test batch first.
What can I do if my filling is too runny?
If your filling feels too soft or runny, you can add a bit more powdered sugar to thicken it up. Alternatively, chill it in the refrigerator for 15-20 minutes to help it firm up before assembling the cookies.
How do I prevent the cookies from spreading too much?
Chilling the dough for about 30 minutes before baking can help maintain their shape better. Also, be sure to space the cookie dough balls well apart on the baking sheet, as they will spread slightly while baking.
Final Thoughts
These Colorful Sandwich Sugar Cookies with Fluffy Filling Recipe are more than just a dessert—they’re a celebration on a plate! With their bright, cheerful colors and irresistibly soft, sweet filling, they have a way of bringing smiles and brightening any occasion. I absolutely encourage you to dive in and create these at home; each step is a joy, and the final result is worth every minute of effort. Your friends and family will thank you—and you might just find a new favorite cookie to bake again and again.
“`
Print
Colorful Sandwich Sugar Cookies with Fluffy Filling Recipe
- Prep Time: 15 minutes
- Cook Time: 10 minutes
- Total Time: 40 minutes
- Yield: 24 sandwich cookies
- Category: Dessert
- Method: Baking
- Cuisine: American
- Diet: Vegetarian
Description
These delightful Sandwich Sugar Cookies are a colorful and fun treat perfect for any occasion. Soft, buttery cookies are tinted with vibrant gel food coloring and sandwiched together with a sweet, creamy vanilla filling. With a crisp edge and tender center, these cookies are both visually appealing and deliciously satisfying.
Ingredients
Cookie Dough
- 1 cup unsalted butter, softened
- 1 ½ cups granulated sugar
- 1 large egg
- 2 teaspoons vanilla extract
- 2 ¾ cups all-purpose flour
- 1 teaspoon baking soda
- ½ teaspoon baking powder
- ½ teaspoon salt
- 2 tablespoons milk
- Gel food coloring (pink, yellow, green, blue, purple)
Filling
- ½ cup unsalted butter, softened
- 2 cups powdered sugar
- 2 tablespoons heavy cream or milk
- 1 teaspoon vanilla extract
- Pinch of salt
Instructions
- Preheat Oven: Preheat your oven to 350°F (175°C) and line a baking sheet with parchment paper to prevent sticking.
- Cream Butter and Sugar: In a large bowl, beat the softened butter and granulated sugar together until the mixture is light and fluffy, ensuring a smooth texture for the cookies.
- Add Wet Ingredients: Mix in the egg and vanilla extract until well combined, incorporating air for a lighter dough.
- Combine Dry Ingredients: In a separate bowl, whisk together the all-purpose flour, baking soda, baking powder, and salt for even distribution before gradually adding them to the wet mixture.
- Add Milk and Mix: Pour in the milk and mix until all ingredients are fully integrated into a soft dough.
- Color the Dough: Divide the dough into portions and tint each with different gel food coloring to create a rainbow assortment of cookies.
- Form Cookies: Roll tablespoon-sized balls of colored dough and space them about 2 inches apart on the prepared baking sheet to allow room for spreading.
- Bake: Bake in the preheated oven for 8-10 minutes, until the edges are set and tops show slight cracks, indicating doneness.
- Cool Cookies: Remove from the oven and allow the cookies to cool completely on a wire rack to prevent melting or deforming the filling.
- Prepare Filling: Beat together softened butter, powdered sugar, heavy cream (or milk), vanilla extract, and a pinch of salt until the mixture becomes fluffy and smooth.
- Assemble Sandwiches: Spread the filling evenly between pairs of matching cookie sizes, gently pressing together, then let them set for about 10 minutes before serving to allow the filling to firm up.
Notes
- Ensure butter is softened but not melted for the creamiest dough and filling.
- Use gel food coloring to avoid altering dough consistency with liquid colors.
- Do not overbake cookies to keep them soft and tender inside.
- Cookies can be stored in an airtight container for up to one week.
- For a dairy-free version, substitute butter and heavy cream with plant-based alternatives.


