
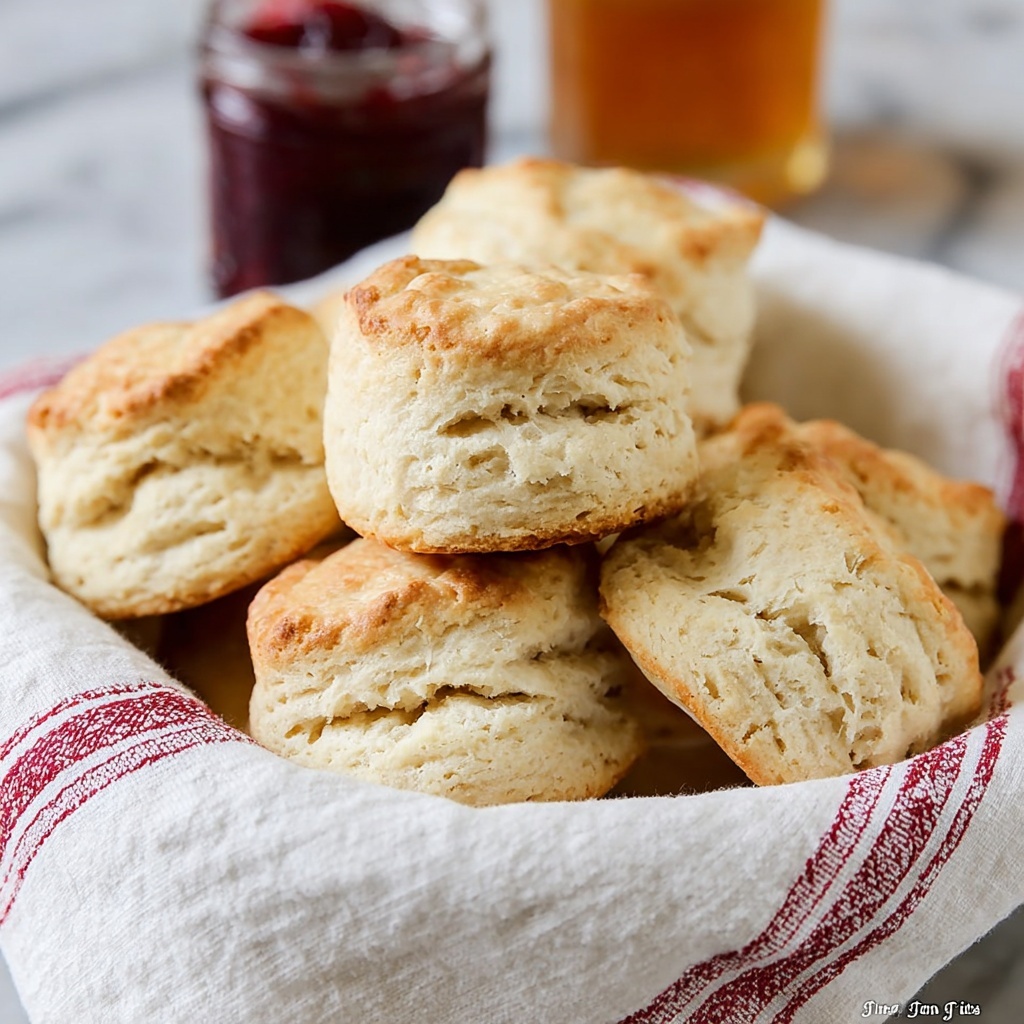
If you’re on the lookout for a comforting, flaky, and utterly delicious biscuit that feels like a warm hug straight from the oven, this Easy Buttermilk Biscuits Recipe is exactly what you need. These biscuits strike that perfect balance between tender crumb and buttery layers that practically melt in your mouth. Whether you’re serving them for breakfast, alongside dinner, or packed in a picnic basket, they’re irresistibly good and surprisingly simple to make. Trust me, once you try this recipe, it’ll become your go-to for any occasion where homemade biscuits are called for.
Ingredients You’ll Need
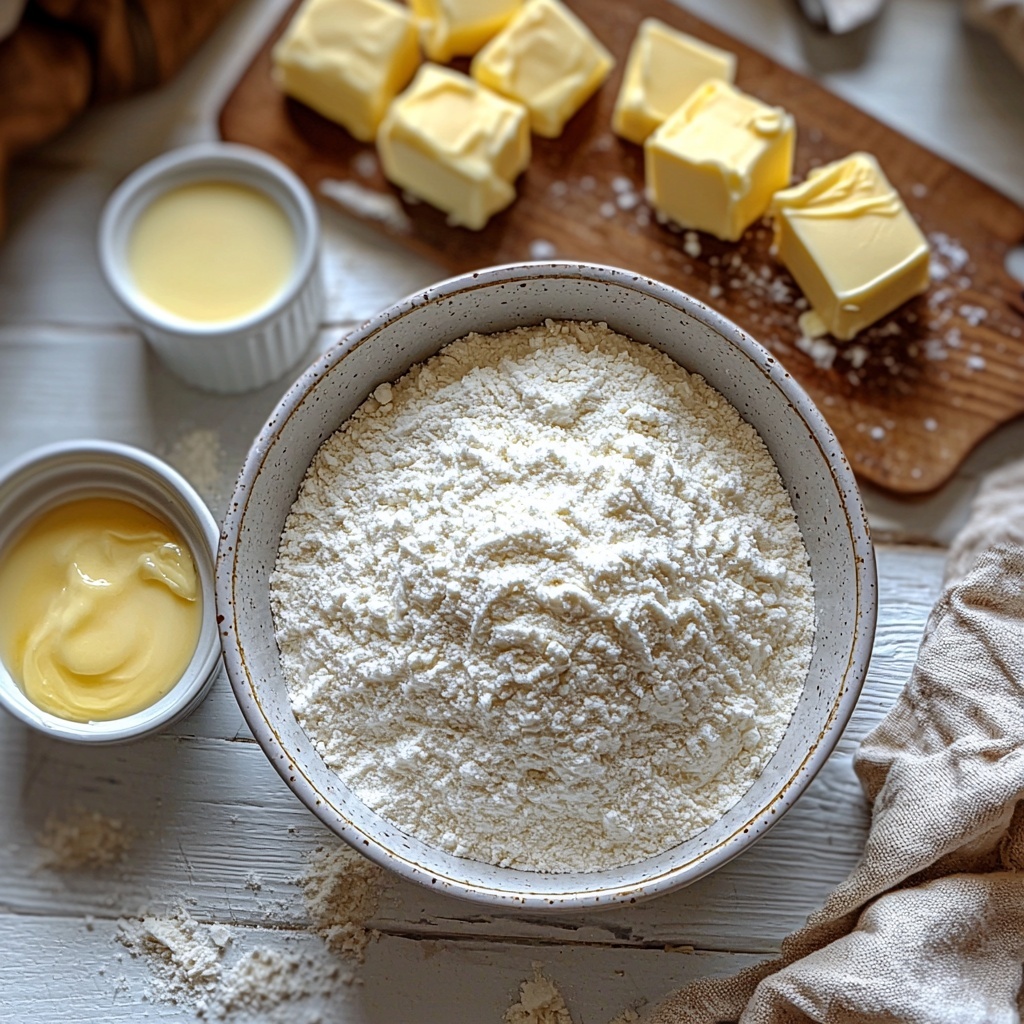
Believe it or not, making the perfect biscuit hinges on a handful of straightforward, quality ingredients. Each one plays a pivotal role in achieving that tender, flaky texture and the golden color that makes these biscuits so inviting.
- 2 cups White Lily Self-Rising Flour: This particular flour is beloved for biscuits because it’s finely milled and creates a light, tender crumb.
- 1/2 cup cold unsalted butter: The cold butter, when cut into the flour, creates those all-important flaky layers.
- 3/4 cup cultured nonfat buttermilk: Its tangy acidity not only adds flavor but also reacts with the self-rising flour to give the biscuits their lift.
- 2 tablespoons unsalted butter, melted: Brushing this on top before baking gives the biscuits a beautiful golden finish and a touch of extra richness.
How to Make Easy Buttermilk Biscuits Recipe
Step 1: Preheat and Prepare Your Pan
Start by preheating your oven to a sizzling 450°F. Line your baking pan with a silicone mat or parchment paper to ensure your biscuits don’t stick and bake evenly. This sets the stage for golden goodness.
Step 2: Measure and Mix Your Flour
Accurate measurement is key here. Spoon the White Lily Self-Rising Flour into a measuring cup and level it off for precision. This keeps your biscuits from ending up too dense or dry.
Step 3: Cut the Butter Into the Flour
Next comes the fun tactile part. Use a pastry blender to cut that cold butter into the flour until the pieces resemble small peas. Alternatively, freeze the butter and grate it, which is a clever way to ensure even distribution and flaky layers.
Step 4: Add Buttermilk and Combine
Pour in the cultured nonfat buttermilk and stir gently until just combined. The dough will look like thick mashed potatoes. Be careful not to overwork it—too sticky? Add a touch more flour, too dry? A splash of buttermilk will bring it together.
Step 5: Fold and Layer the Dough
Turn the dough onto a floured surface and knead lightly if needed. Then flatten it into a rectangle and fold it into thirds like a letter. Repeat this folding and flattening process about three times. This technique is what creates the signature flaky layers that make biscuits so irresistible.
Step 6: Cut Out the Biscuits
Flatten your dough to about 3/4 to 1 inch thick and use a floured biscuit cutter to press straight down—no twisting! Place the biscuits close together on your pan for soft edges, or spaced apart if you prefer a bit of a crustier bite.
Step 7: Bake and Butter the Tops
Re-shape any leftover dough and cut out more biscuits until you have 10 to 12 total. Brush each biscuit with the melted butter and bake for about 15 minutes until they turn that perfect golden brown. The butter on top gives them a lustrous shine and extra flavor punch.
How to Serve Easy Buttermilk Biscuits Recipe
Garnishes
A sprinkle of flaky sea salt or a smear of honey butter can elevate these biscuits to extraordinary levels. Fresh herbs like chopped chives or thyme also add a delightful burst of flavor without overpowering the biscuit’s buttery goodness.
Side Dishes
These biscuits pair beautifully with so many dishes. Think creamy chicken and gravy, hearty soups, or a classic Southern-style barbecue. They’re also fantastic alongside scrambled eggs and breakfast sausage for a weekend brunch that everyone will rave about.
Creative Ways to Present
Try making mini biscuit sandwiches filled with scrambled eggs and cheese for a portable breakfast treat. Or slice them open and layer with jam and whipped cream for a scrumptious dessert twist. The possibilities with this Easy Buttermilk Biscuits Recipe are endless!
Make Ahead and Storage
Storing Leftovers
If you find yourself with extra biscuits, store them in an airtight container at room temperature for up to two days. This keeps them soft and fresh enough to enjoy with your next meal.
Freezing
For longer storage, freeze cooled biscuits in a sealed plastic bag. They’ll stay delicious for up to three months. When you want them, just thaw overnight in the fridge or gently warm them straight from the freezer.
Reheating
To refresh your biscuits, pop them in a preheated oven at 350°F for 5 to 10 minutes. This brings back the flaky outer layers while keeping the inside tender and buttery—almost like freshly baked!
FAQs
Can I use regular flour instead of White Lily Self-Rising Flour?
While you can, White Lily Self-Rising Flour is favored for its fine texture and perfect rise, which makes a big difference in lightness and tenderness. If using regular flour, you’ll need to add baking powder and salt to mimic the self-rising version.
Why is the butter cold in this recipe?
Cold butter is essential because it creates steam during baking, which helps form flaky layers. Warm or melted butter would blend too thoroughly and result in a denser biscuit.
Can I make these biscuits dairy-free?
Yes, you can substitute the buttermilk with a plant-based milk mixed with a tablespoon of vinegar to mimic acidity. Butter can be swapped for vegan margarine. The texture and taste will be slightly different but still delightful.
What’s the secret to flaky biscuits?
The key is minimal handling and folding the dough to create layers. Cutting cold butter into the flour and gentle, quick mixing keeps the biscuits tender and flaky.
Can I bake these biscuits at a lower temperature?
These biscuits bake best at 450°F to get that rise and golden crust. Baking at a lower temperature might result in less rise and a drier texture, so sticking to the recommended heat is best for optimal results.
Final Thoughts
There’s something truly special about homemade biscuits, and this Easy Buttermilk Biscuits Recipe is a surefire way to bring that warmth and comfort to your table. They’re straightforward enough for weeknight dinners but impressive enough to steal the show on a special brunch spread. I can’t wait for you to try them and enjoy the simple joy of baking from scratch with a recipe that feels like it was shared among friends. Happy baking!
Print
Easy Buttermilk Biscuits Recipe
- Prep Time: 15 minutes
- Cook Time: 15 minutes
- Total Time: 35 minutes
- Yield: 10 to 12 biscuits
- Category: Breakfast
- Method: Baking
- Cuisine: American Southern
Description
This easy buttermilk biscuits recipe yields flaky, tender biscuits with a golden crust, perfect for breakfast or as a side. Made with self-rising flour, cold butter, and cultured buttermilk, these biscuits are simple to prepare and bake to perfection in just 35 minutes.
Ingredients
Dry Ingredients
- 2 cups White Lily Self-Rising Flour
Wet Ingredients
- 3/4 cup cultured nonfat buttermilk
- 2 tablespoons unsalted butter, melted (for brushing)
Fat
- 1/2 cup cold unsalted butter (cut into small pieces or grated)
Instructions
- Preheat Oven: Preheat your oven to 450°F (232°C) and prepare a baking pan by lining it with a silicone baking mat or parchment paper to prevent sticking.
- Measure Flour: In a large bowl, spoon the White Lily self-rising flour into a dry measuring cup and level it off to get an accurate measurement.
- Cut in Butter: Incorporate the cold unsalted butter into the flour using a pastry blender until the mixture resembles small peas. Alternatively, you can freeze the butter, grate it, and then mix with the flour to keep the butter cold and achieve flakiness.
- Add Buttermilk: Pour in the cultured nonfat buttermilk and stir gently just until combined. The dough should resemble thick mashed potatoes and be slightly sticky. If it’s too sticky, add a little more flour; if not holding together, add more buttermilk.
- Knead and Fold: Turn the dough onto a floured surface and knead it a few times if necessary. Flatten into a rectangle and fold it in a tri-fold manner to create flaky layers. Repeat this folding and flattening about three times, dusting with flour as needed to prevent sticking.
- Cut Biscuits: Roll the dough to about 3/4 to 1 inch thick. Use a floured sharp biscuit cutter (2 to 2 1/2 inches diameter) and cut the biscuits with a quick up-and-down motion without twisting to ensure rise. Place biscuits close together on the pan for soft edges or spaced apart for crispier edges.
- Rework Dough: Gather and flatten any leftover dough to cut additional biscuits, aiming for 10 to 12 total.
- Brush with Butter and Bake: Brush the tops of the biscuits with melted butter before baking. Bake in the preheated oven for about 15 minutes or until golden brown on top.
Notes
- Using self-rising flour means no need to add additional baking powder or salt.
- Work quickly to keep the butter cold to ensure flaky biscuits.
- Do not twist the biscuit cutter when cutting, as twisting can seal the edges and hinder rising.
- Brushing with melted butter after baking enhances flavor and moisture.
- If you prefer crispier edges, space biscuits farther apart on the baking sheet.


