
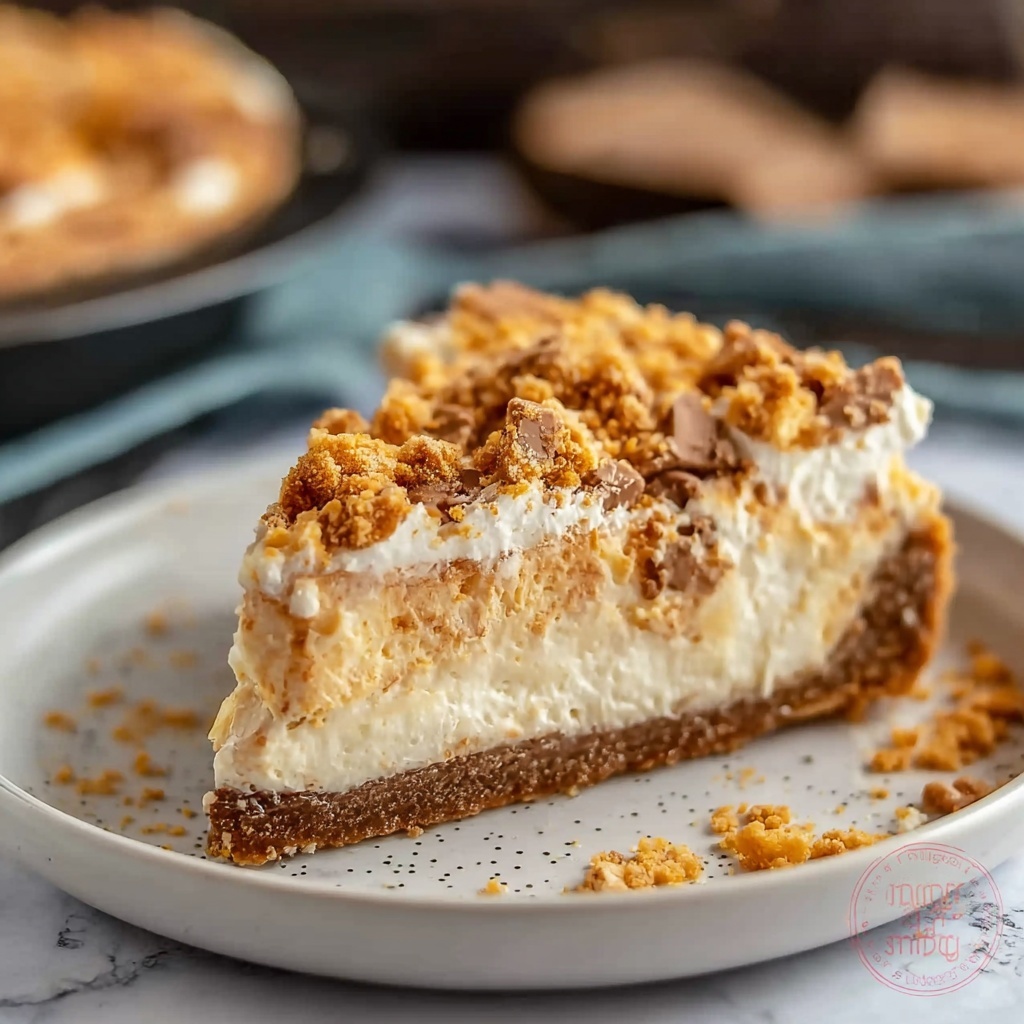
If you are a fan of peanut butter and crunchy candy bars, you are going to fall head over heels for this Butterfinger Peanut Butter Pie Recipe. It masterfully blends creamy peanut butter, velvety cream cheese, and a whisper-light whipped topping with the unmistakable crunch and sweetness of Butterfinger candy bars. Each bite delivers a beautiful balance of texture and flavor, nestled in a buttery graham cracker crust that sets the stage perfectly. Whether you’re treating your family after dinner or bringing a show-stopping dessert to a get-together, this pie is a straightforward yet decadent delight that will quickly become a favorite in your recipe collection.
Ingredients You’ll Need
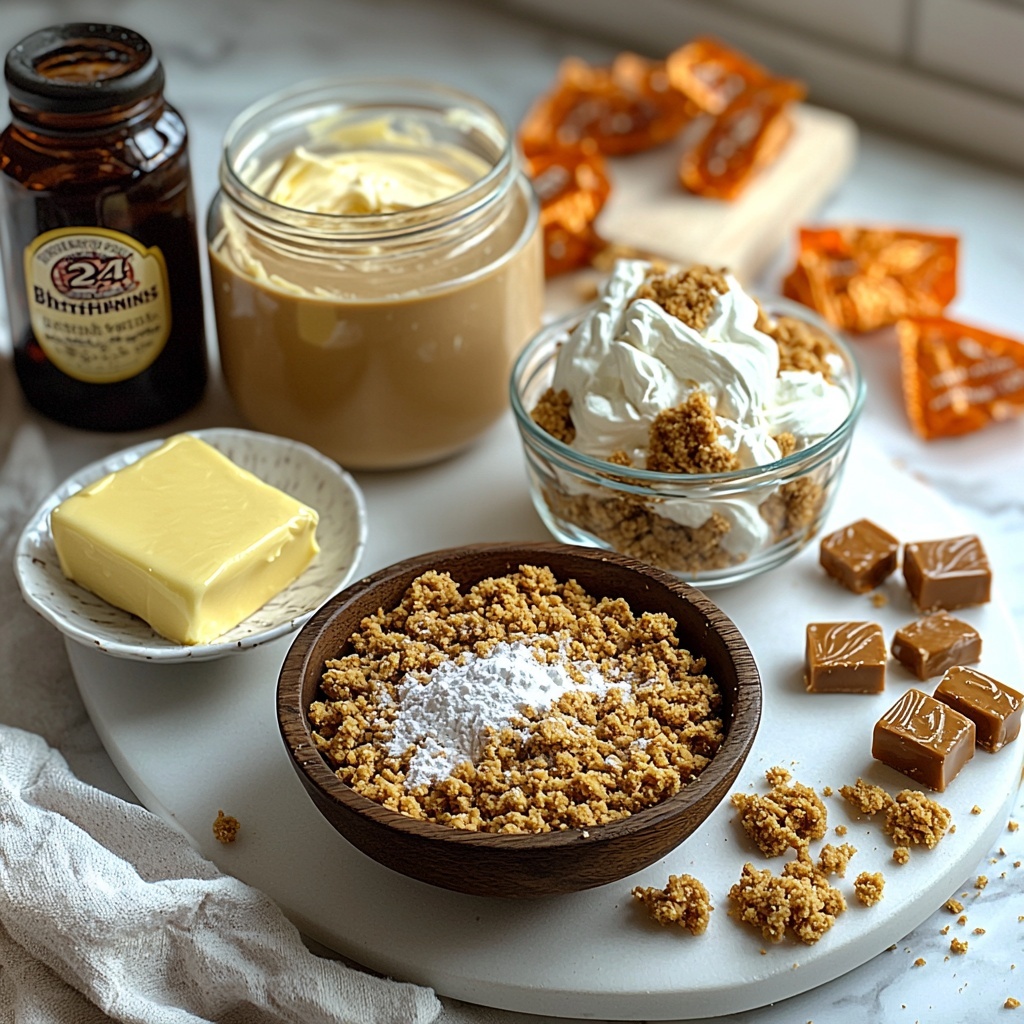
This Butterfinger Peanut Butter Pie Recipe calls for simple, everyday ingredients that come together effortlessly to create magic in a pie dish. Each item plays a special role—from the buttery graham cracker crust that provides a crunchy foundation to the rich peanut butter and cream cheese filling adding smoothness and depth, and finally the Butterfinger candy bars, giving the recipe its signature crunch and irresistible flavor.
- Graham cracker crumbs (2 cups): The perfect base offering a sweet, crumbly texture that crisps up beautifully.
- Unsalted butter (1/2 cup or 1 stick, melted): Binds the crust and adds richness without overpowering flavor.
- Creamy peanut butter (1 cup): Delivers luscious, nutty flavor and creamy consistency central to the filling.
- Cream cheese (8 oz, softened): Provides tanginess and smoothness to balance the sweetness.
- Powdered sugar (1 cup): Sweetens the filling while melting seamlessly into it for a silky finish.
- Vanilla extract (1 tsp): Elevates the flavor profile with its warm, aromatic notes.
- Whipped topping (8 oz, thawed): Lightens the filling giving it that cloud-like softness.
- Butterfinger candy bars (4 bars, 2.1 oz each, crushed): Adds crunchy, caramelized peanut goodness and a striking texture contrast, with extra reserved for a gorgeous topping.
How to Make Butterfinger Peanut Butter Pie Recipe
Step 1: Prepare the Crust
Start by combining the graham cracker crumbs with melted butter in a medium bowl until every crumb is coated and moistened. Then press this mixture firmly into the bottom and sides of a 9-inch pie dish to form your crust. Placing it in the refrigerator while you prepare the filling helps it set up nice and firm.
Step 2: Make the Filling Base
In a large mixing bowl, beat together the creamy peanut butter and softened cream cheese until you achieve a smooth, luscious blend. This step is crucial because it creates the creamy backbone of your filling without lumps, ensuring every spoonful is incredibly silky.
Step 3: Sweeten and Flavor
Add the powdered sugar and the vanilla extract into the peanut butter mixture. Continue beating until everything is thoroughly combined and the filling looks soft and creamy. The powdered sugar lends just the right amount of sweetness, and the vanilla pulls all the flavors together.
Step 4: Fold in Whipped Topping
Carefully fold the thawed whipped topping into your peanut butter filling. The goal here is to blend without deflating the volume, maintaining that light, airy texture that makes this pie feel so indulgent without being heavy.
Step 5: Add the Butterfinger Pieces
Take three of your crushed Butterfinger bars and gently fold them into the filling mixture. This is where the pie gets its trademark crunch and delightful bursts of caramelized peanut flavor. Folding them in last keeps the candy bars from losing their texture.
Step 6: Assemble the Pie
Pour the luscious filling evenly into the chilled crust, then smooth the top using a spatula. This creates a lovely, even surface that’s ready to be crowned with even more Butterfinger magic.
Step 7: Top with More Butterfinger
Sprinkle the remaining crushed Butterfinger bar generously over the top of your pie. Not only does this add a beautiful decorative touch, but it also lets everyone know there’s extra crunch in every bite.
Step 8: Chill and Set
Place the pie in your refrigerator for at least four hours, or better yet overnight. This resting time is essential as it allows the flavors to meld together and the filling to firm up, giving you perfectly sliceable servings.
Step 9: Serve and Enjoy
When it’s time to serve, slice your pie carefully using a knife dipped in hot water and wiped dry between cuts. This simple trick helps you get clean, impressive slices that showcase the pie’s creamy layers and crunchy topping beautifully.
How to Serve Butterfinger Peanut Butter Pie Recipe
Garnishes
While the crushed Butterfinger topping does most of the work, consider adding a few extra touches like a drizzle of chocolate syrup or a dollop of fresh whipped cream to make each slice even more irresistible. A sprinkle of chopped peanuts or a few chocolate shavings can also add charm and texture.
Side Dishes
This pie is rich and satisfying on its own, but if you want to complete your dessert spread, fresh berries or a light fruit salad offer a refreshing balance. A simple cup of coffee or cold milk pairs beautifully with the nutty, sweet flavors in this Butterfinger Peanut Butter Pie Recipe.
Creative Ways to Present
For a party, cut the pie into mini squares and place each on a colorful dessert plate with a drizzle of caramel sauce. You could also make individual portions in small jars for a cute and portable twist—just layer the crust, filling, and candy pieces for an adorable handheld treat.
Make Ahead and Storage
Storing Leftovers
After serving, wrap any leftover Butterfinger Peanut Butter Pie tightly with plastic wrap or store it in an airtight container. Keep it refrigerated where it will stay fresh and creamy for up to 3 days. Always use a clean spoon or knife to avoid contamination and maintain optimum flavor.
Freezing
If you want to store the pie for longer, freezing works surprisingly well. Wrap the whole pie or individual slices securely in plastic wrap and then aluminum foil to prevent freezer burn. It can be frozen for up to 1 month. To thaw, place it in the refrigerator overnight before serving.
Reheating
This pie is best enjoyed cold and does not require reheating. However, if you prefer slightly softer ice cream-like textures, let a slice sit at room temperature for 10-15 minutes before digging in. Avoid microwaving, as it will melt the whipped topping and lose the signature texture.
FAQs
Can I use crunchy peanut butter instead of creamy?
Absolutely! Using crunchy peanut butter will add even more texture to the filling, complementing the Butterfinger crunch nicely. Just be aware it will slightly alter the smoothness of the filling.
Is there a substitute for the whipped topping?
Yes, you can use homemade whipped cream or store-bought heavy whipping cream whipped to stiff peaks. Just fold it in gently to maintain the light and airy texture.
What if I don’t have graham cracker crumbs?
You can substitute with crushed digestive biscuits, vanilla wafers, or even crushed pretzels for a salty twist. Just keep the quantities the same and melt the butter as usual to bind the crust.
Can this pie be made gluten-free?
Definitely! Simply use gluten-free graham cracker crumbs or any gluten-free cookie crumbs you prefer. The rest of the ingredients are naturally gluten-free, making this pie great for those with dietary restrictions.
How do I crush Butterfinger bars without a mess?
Place the bars in a sealed plastic bag and gently tap with a rolling pin or heavy skillet until you reach the desired size of chunks. This keeps your workspace clean and ensures uniform pieces throughout the pie.
Final Thoughts
This Butterfinger Peanut Butter Pie Recipe is one of those special desserts that effortlessly combines ease and wow factor in every bite. Its creamy, crunchy, and sweet layers come together like a dream, perfect for sharing with those you love. So go ahead, grab those candy bars and make this heavenly pie your next showstopper—you won’t regret it!
Print
Butterfinger Peanut Butter Pie Recipe
- Prep Time: 20 minutes
- Cook Time: 0 minutes
- Total Time: 4 hours 20 minutes
- Yield: 8 servings
- Category: Dessert
- Method: No-Cook
- Cuisine: American
Description
This delicious Butterfinger Pie with Peanut Butter is a creamy, no-bake dessert featuring a crunchy graham cracker crust, smooth peanut butter cream cheese filling, and crushed Butterfinger candy bars mixed throughout and on top. Perfectly chilled for at least 4 hours, this pie delivers a rich combination of sweet, salty, and nutty flavors in every bite, making it an irresistible treat for peanut butter and candy lovers alike.
Ingredients
For the Crust
- 2 cups graham cracker crumbs
- 1/2 cup (1 stick) unsalted butter, melted
For the Filling
- 1 cup creamy peanut butter
- 8 oz cream cheese, softened
- 1 cup powdered sugar
- 1 tsp vanilla extract
- 8 oz whipped topping (such as Cool Whip), thawed
- 4 Butterfinger candy bars (2.1 oz each), crushed (plus extra for topping)
Instructions
- Prepare the crust: In a medium bowl, mix the graham cracker crumbs with the melted butter until the mixture is well combined. Press this mixture firmly into the bottom and up the sides of a 9-inch pie dish to form the crust. Place the crust in the refrigerator to chill while you prepare the filling.
- Make the filling: In a large bowl, beat together the creamy peanut butter and softened cream cheese until smooth and creamy, about 2 minutes. Add the powdered sugar and vanilla extract, continuing to mix until the mixture is well combined and creamy, for an additional 1-2 minutes.
- Fold in whipped topping: Gently fold the thawed whipped topping into the peanut butter and cream cheese mixture until just combined, being careful not to overmix to maintain a light texture.
- Add Butterfinger pieces: Crush 3 of the Butterfinger bars and gently fold the pieces into the peanut butter filling to distribute the candy throughout the mixture.
- Assemble the pie: Pour the prepared filling into the chilled graham cracker crust, smoothing the top evenly with a spatula.
- Add topping: Crush the remaining Butterfinger bar and sprinkle the pieces evenly over the top of the pie to add an attractive crunchy topping.
- Chill: Refrigerate the assembled pie for at least 4 hours or preferably overnight to allow it to set properly before serving.
- Serve: When ready to serve, slice the pie using a knife dipped in hot water and wiped dry between cuts to achieve clean slices. Enjoy your Butterfinger Pie!
Notes
- For a firmer crust, press the graham cracker mixture firmly and chill well before filling.
- Use fully softened cream cheese to ensure a smooth, lump-free filling.
- Gently folding the whipped topping preserves its airy texture in the filling.
- Chilling the pie overnight enhances the flavors and texture for best results.
- For easy slicing, warm and dry your knife between cuts to prevent sticking.
- Store leftovers covered in the refrigerator for up to 3 days.


