

If you’ve been dreaming of a delightful breakfast treat that tastes like it came fresh from a bakery but made right in your own kitchen, look no further than this recipe for Homemade Frosted Brown Sugar Pop-Tarts: An Incredible Ultimate Recipe. These pastries have a perfectly flaky crust hugging a sweet, cinnamon-infused brown sugar filling, topped with a glossy, vanilla-scented frosting. Each bite brings a nostalgic hug, made with simple ingredients that turn into something truly magical. Whether you’re a Pop-Tart lover or just in the mood for a cozy, sweet breakfast, this recipe is bound to become a cherished favorite.
Ingredients You’ll Need
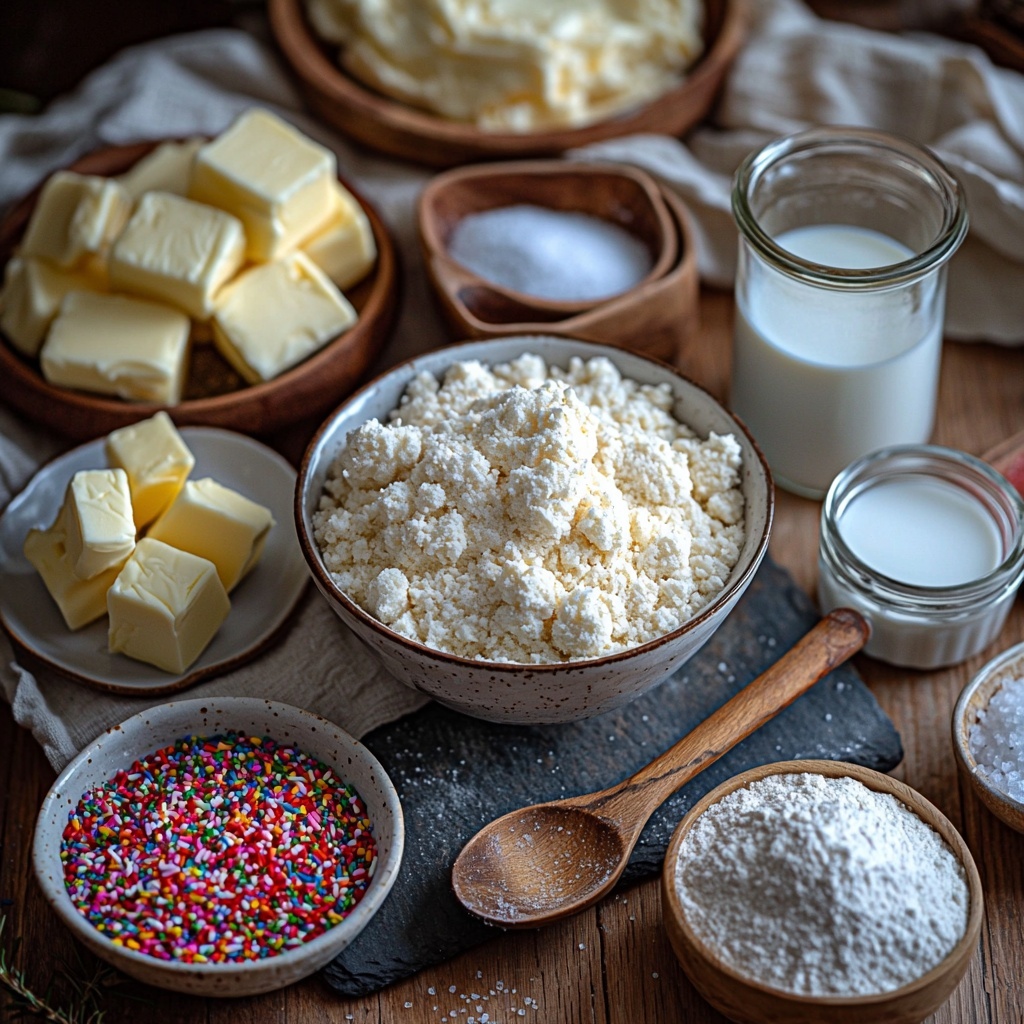
Getting the perfect Pop-Tart starts with a handful of straightforward yet essential ingredients. Each one plays its part in creating the ideal balance of flaky pastry, sweet filling, and luscious frosting that define this recipe.
- 2 cups all-purpose flour: The foundation for a tender yet sturdy pastry crust.
- 1 teaspoon salt: Enhances all the flavors without overpowering the sweetness.
- 1 tablespoon granulated sugar: Adds just a touch of sweetness to the dough.
- 1 cup unsalted butter, cold and cubed: Key for flakiness, use cold butter to create those lovely layers.
- 1/4 cup cold water: Brings the dough together without warming the butter, keeping it flaky.
- 1/2 cup brown sugar, packed: The heart of the filling with its deep, caramel-like sweetness.
- 1 teaspoon ground cinnamon: Adds warm, spicy notes to complement the brown sugar.
- 1 tablespoon cornstarch: Helps thicken the filling to perfection.
- 1/4 cup milk: Moistens the filling and enriches the dough slightly.
- 1 teaspoon vanilla extract: Infuses a creamy, sweet aroma throughout the filling.
- 1 cup powdered sugar (for frosting): Creates a smooth, sweet glaze that finishes these treats beautifully.
- 2 tablespoons milk (for frosting): Mixed with powdered sugar to achieve that perfect drizzling consistency.
- 1/2 teaspoon vanilla extract (for frosting): Adds depth and classic flavor to the frosting.
- Sprinkles (optional): For a fun, colorful touch if you want to make these extra festive!
How to Make Homemade Frosted Brown Sugar Pop-Tarts: An Incredible Ultimate Recipe
Step 1: Combine Dry Ingredients and Cut in Butter
The journey to flaky perfection begins by mixing your flour, salt, and granulated sugar in a large bowl. Then, work in cold, cubed butter until the mixture looks like coarse crumbs—this makes all the difference for a beautiful crumbly texture once baked.
Step 2: Bring the Dough Together
Slowly add cold water to the crumbly mix, stirring just until the dough clumps together. Take care not to overwork it. Divide the dough in two, wrap each half, and chill them for at least 30 minutes to relax the gluten and keep the butter firm.
Step 3: Prepare the Brown Sugar Cinnamon Filling
While the dough chills, mix the brown sugar, cinnamon, and cornstarch in a separate bowl. This filling is the soul of your Pop-Tarts—the perfect blend of sweet and warmly spiced that will stay gooey in the center after baking.
Step 4: Roll Out the Dough and Cut Rectangles
Preheat your oven to 375°F (190°C). On a floured surface, roll out one half of the dough to about 1/8-inch thick. Cut into neat 3×4 inch rectangles that will become the bottom layer of your pastries.
Step 5: Assemble with Filling and Top Layer
Place half your rectangles on a parchment-lined baking sheet. Spoon a tablespoon of your brown sugar filling onto the center of each one. Roll out the remaining dough and cut matching rectangles to layer on top. Seal the edges firmly with a fork to lock all the goodness inside.
Step 6: Bake the Pop-Tarts
Bake these beauties for 25 to 30 minutes until the edges turn a gorgeous golden brown. The aroma will tempt you from the kitchen, but let them cool for 15 to 20 minutes before frosting.
Step 7: Frost and Decorate with Love
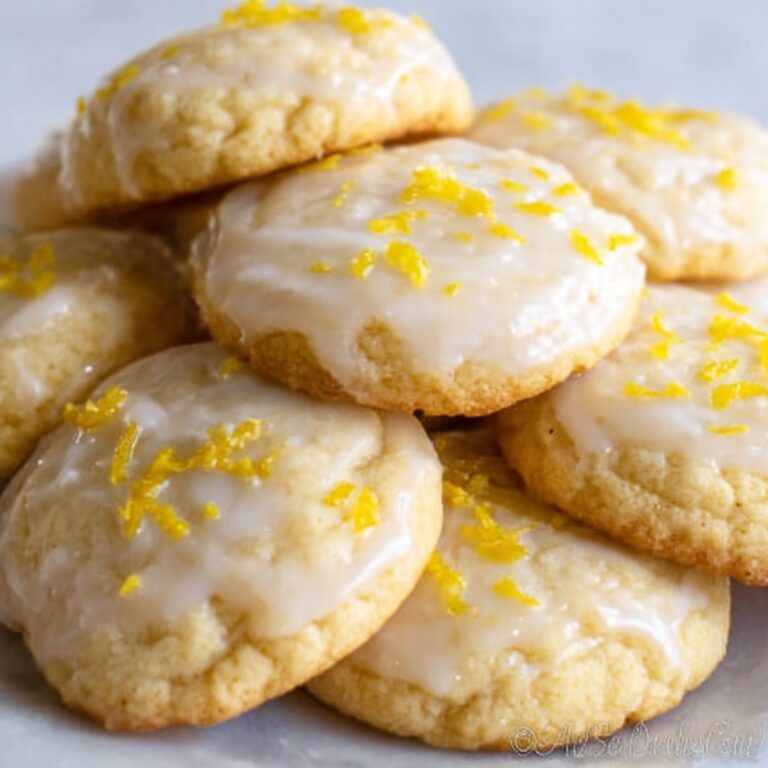
Whisk powdered sugar, milk, and vanilla to a smooth glaze then generously drizzle or spread it onto cooled Pop-Tarts. If you want to bring a playful note to your creation, top with sprinkles. These are the final flourish on your Homemade Frosted Brown Sugar Pop-Tarts: An Incredible Ultimate Recipe.
How to Serve Homemade Frosted Brown Sugar Pop-Tarts: An Incredible Ultimate Recipe
Garnishes
A dusting of cinnamon or a few chopped nuts on top of the frosting can add a lovely crunch and extra flavor dimension. Fresh berries also make a pretty and refreshing contrast.
Side Dishes
Pair these warm pastries with a cup of creamy coffee, a glass of cold milk, or even a scoop of vanilla ice cream for an indulgent brunch or dessert experience that never goes out of style.
Creative Ways to Present
Arrange your Pop-Tarts on a rustic wooden board or colorful plate, add a small bowl of maple syrup or honey for drizzling, or stack them with edible flowers for an Instagram-worthy morning spread. Presentation can turn these simple delights into a show-stopping centerpiece.
Make Ahead and Storage
Storing Leftovers
Once cooled and frosted, store your Pop-Tarts in an airtight container at room temperature for up to two days. This keeps the crust crisp and the filling fresh without losing its charm.
Freezing
If you want to enjoy these treats later, flash freeze unbaked or baked Pop-Tarts on a tray, then transfer them to a freezer bag. They freeze beautifully for up to three months, ready for you to bake or reheat whenever the craving hits.
Reheating
To bring your Pop-Tarts back to life, warm them in a toaster oven or conventional oven at 350°F (175°C) for about 5 to 7 minutes. Avoid the microwave if possible to maintain that flaky texture.
FAQs
Can I use any type of sugar instead of brown sugar for the filling?
You can substitute with white granulated sugar, but the flavor and moisture will be slightly less rich. Brown sugar offers a deeper caramel flavor that is signature to this recipe.
Is it necessary to chill the dough?
Yes, chilling the dough keeps the butter cold, which is crucial for creating a flaky pastry. It also makes the dough easier to handle and helps prevent shrinking during baking.
Can I make this recipe gluten-free?
With some adjustments—like using a gluten-free all-purpose blend and checking that other ingredients are gluten-free—you can enjoy these Pop-Tarts gluten-free. However, texture may vary slightly.
How long do these Pop-Tarts keep after baking?
They are best enjoyed within two days when stored at room temperature. Beyond that, the pastry can start to lose its crispness and freshness.
Can I freeze these after frosting?
It’s best to freeze Pop-Tarts before frosting. Once defrosted and warmed, add the frosting fresh so it looks and tastes vibrant and smooth.
Final Thoughts
Making Homemade Frosted Brown Sugar Pop-Tarts: An Incredible Ultimate Recipe is not only fun but incredibly rewarding. These charming pastries bring a mix of nostalgia and gourmet flair straight from your oven to the table. I encourage you to give this recipe a try—you’ll soon wonder why you ever settled for store-bought ones. Happy baking and happy tasting!
Print
Homemade Frosted Brown Sugar Pop-Tarts: An Incredible Ultimate Recipe
- Prep Time: 15 minutes
- Cook Time: 30 minutes
- Total Time: 45 minutes
- Yield: 8-10 pop-tarts
- Category: Breakfast
- Method: Baking
- Cuisine: American
Description
Homemade Frosted Brown Sugar Pop-Tarts are a delightful twist on the classic toaster pastry, featuring a buttery crust filled with a sweet brown sugar and cinnamon filling, topped with a smooth vanilla frosting and optional sprinkles. This recipe combines flaky pastry with rich and warm flavors for a delicious breakfast or snack treat.
Ingredients
Dough
- 2 cups all-purpose flour
- 1 teaspoon salt
- 1 tablespoon granulated sugar
- 1 cup unsalted butter, cold and cubed
- 1/4 cup cold water
Filling
- 1/2 cup brown sugar, packed
- 1 teaspoon ground cinnamon
- 1 tablespoon cornstarch
Frosting
- 1 cup powdered sugar
- 2 tablespoons milk
- 1/2 teaspoon vanilla extract
- Sprinkles (optional, for decoration)
Instructions
- Combine Dry Ingredients: In a large bowl, mix together the all-purpose flour, salt, and granulated sugar until evenly combined.
- Add Cold Butter: Incorporate the cold, cubed unsalted butter into the flour mixture using your fingers or a pastry cutter until the texture resembles coarse crumbs.
- Form Dough: Gradually add the cold water to the mixture, stirring until the dough begins to come together. Divide the dough into two equal parts, wrap each in plastic wrap, and refrigerate for at least 30 minutes to chill.
- Prepare Filling: In a separate bowl, thoroughly combine the brown sugar, ground cinnamon, and cornstarch, setting this fragrant filling mixture aside.
- Preheat Oven & Roll Dough: Preheat your oven to 375°F (190°C). On a floured surface, roll out one portion of the chilled dough to roughly 1/8 inch thickness.
- Cut Dough Rectangles: Using a knife or pastry cutter, cut the rolled dough into rectangles approximately 3 by 4 inches. Arrange half of these rectangles on a baking sheet lined with parchment paper.
- Fill Pastries: Spoon about a tablespoon of the brown sugar filling into the center of each rectangle resting on the baking sheet.
- Top with Second Dough Layer: Roll out the second half of the dough and cut it into matching rectangles. Carefully place these over the filled rectangles to create a top crust.
- Seal Edges: Press the edges of the top and bottom crusts together firmly using a fork to securely seal in the filling.
- Bake: Bake the assembled pop-tarts in the preheated oven for 25 to 30 minutes or until the edges turn a golden brown.
- Cool: Remove the pop-tarts from the oven and let them cool on the baking sheet for 15 to 20 minutes to set before frosting.
- Make Frosting: In a small bowl, whisk together powdered sugar, milk, and vanilla extract until smooth and creamy.
- Frost and Decorate: Drizzle or spread the vanilla frosting atop the cooled pop-tarts and decorate with sprinkles if desired. Let the frosting set before serving to enjoy these rich, sweet pastries.
Notes
- Make sure the butter is very cold to achieve a flaky crust texture.
- Do not overwork the dough when mixing and rolling to keep the pastry tender.
- Use parchment paper to prevent sticking on the baking sheet.
- The frosting can be adjusted in thickness by varying the milk quantity.
- Sprinkles are optional but add a colorful, festive touch.
- Store leftovers in an airtight container to maintain freshness.
- Reheat gently in a toaster oven or microwave before serving for the best taste.