
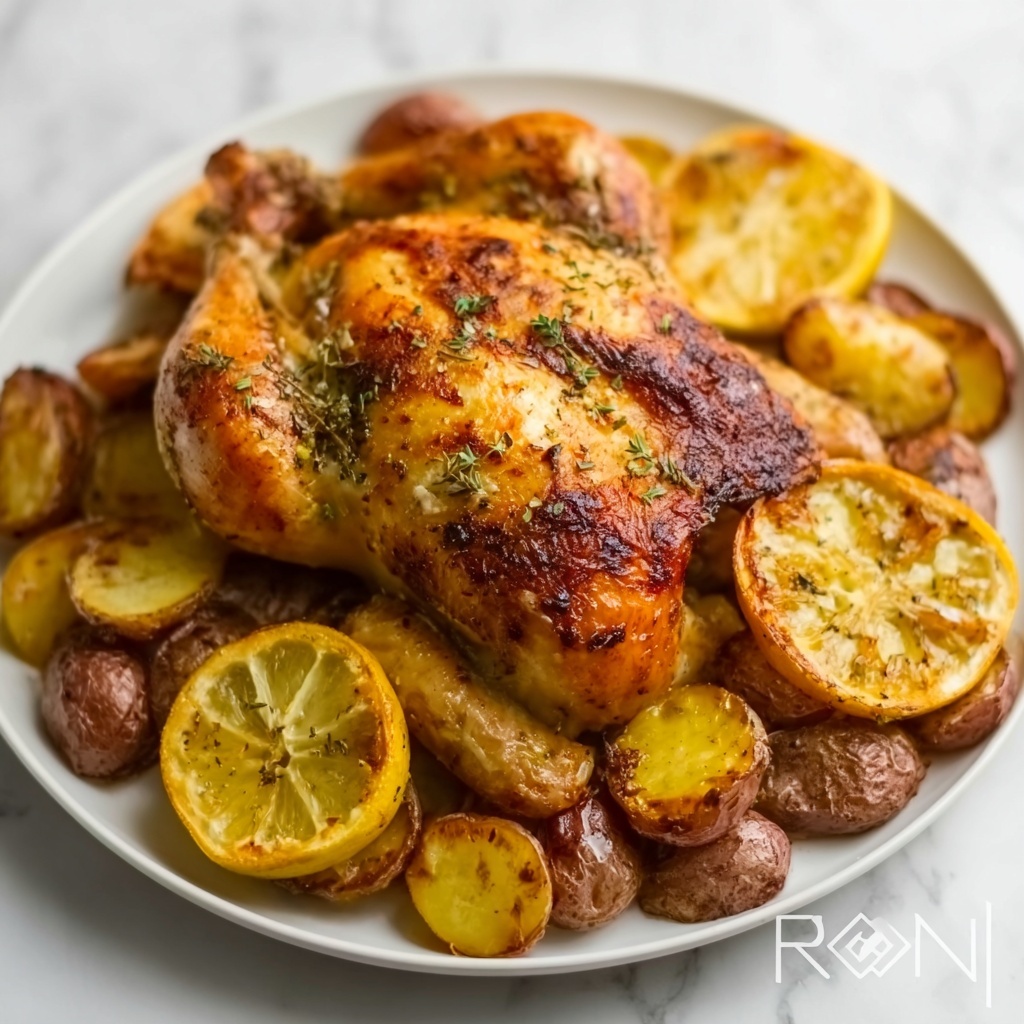
If you have been searching for a fuss-free way to prepare a tender, flavorful whole chicken that tastes like it cooked for hours but in a fraction of the time, then this Instant Pot Whole Chicken with Herbs and Optional Crispy Skin Recipe is about to become your new best friend. Juicy and infused with the fragrant blend of rosemary, thyme, oregano, and bay leaves, this method gives you a perfectly cooked bird every single time. Plus, with a simple optional step, you can add a beautiful golden crisp to the skin that’ll impress everyone at the table. Let me walk you through turning humble ingredients into an unforgettable meal!
Ingredients You’ll Need
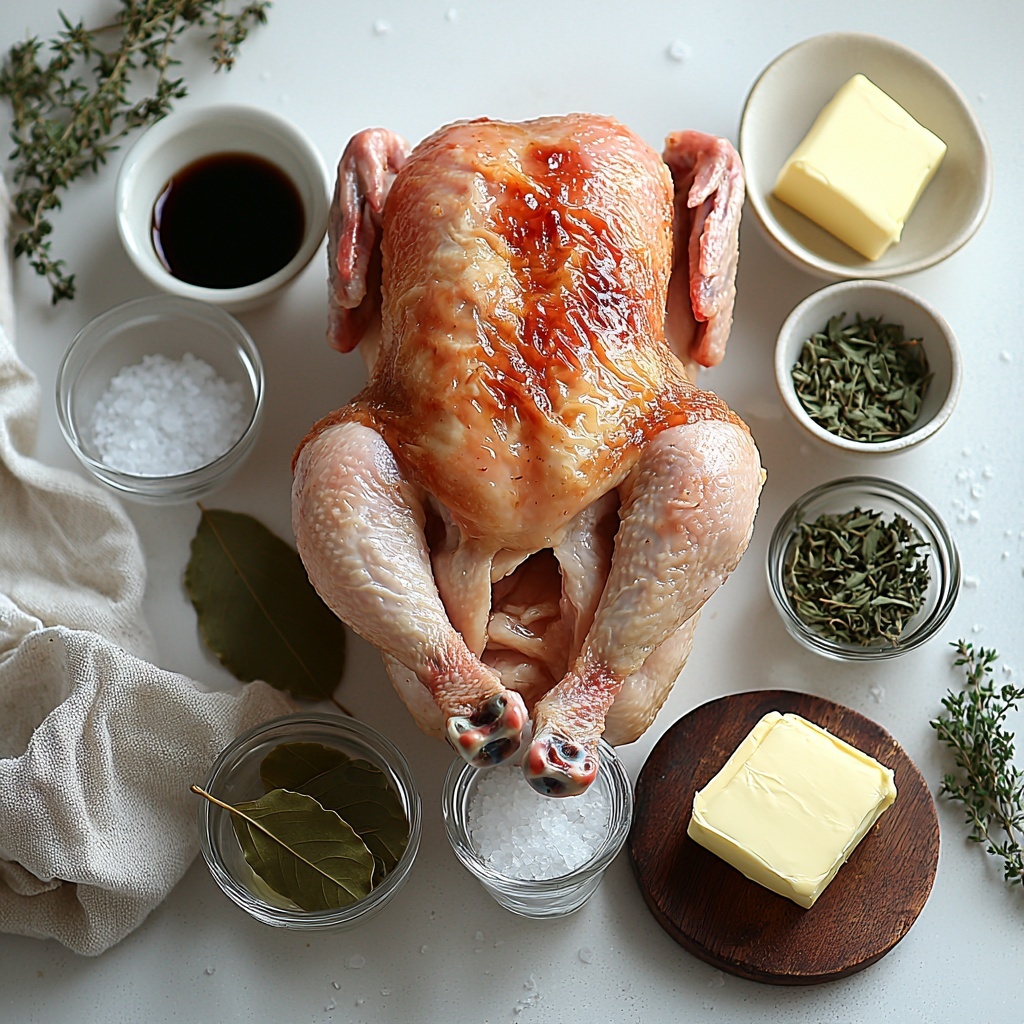
Only a handful of ingredients come together to create this delicious chicken, proving just how simple yet essential each component is. Every herb and seasoning plays its part in building layers of savory depth and comforting aroma.
- 8 cups cold water: The gentle cooking medium that helps keep the chicken moist and tender inside the Instant Pot.
- 5 teaspoons fine sea salt: Enhances flavor and helps season the meat uniformly.
- 2 bay leaves: Adds an earthy, slightly floral note to the cooking liquid.
- 1 teaspoon dried oregano: Brings a touch of Mediterranean warmth and slight pungency.
- 1 teaspoon dried rosemary: Adds a piney, woodsy aroma that’s classic for roast chicken.
- 1 teaspoon dried thyme: Provides a subtle peppery-herbal fragrance that lifts the whole dish.
- 1 whole chicken (about 4-5 pounds): The star of the show; fresh or thawed for best results.
- 2 tablespoons unsalted butter (optional): Perfect for coating the skin before broiling to achieve that irresistible crisp.
- 1 tablespoon soy sauce (optional): Adds umami and helps the skin brown beautifully under the broiler.
How to Make Instant Pot Whole Chicken with Herbs and Optional Crispy Skin Recipe
Step 1: Prepare the Instant Pot
Start by pouring the cold water into the Instant Pot. Sprinkle in the sea salt, bay leaves, oregano, rosemary, and thyme, then gently stir to dissolve the salt and release the herbs’ aromas. This flavorful cooking liquid will infuse the chicken as it simmers under pressure, ensuring juicy, aromatic meat every time.
Step 2: Submerge the Chicken
Carefully place the whole chicken directly into the Instant Pot with its breast side facing up. It should be mostly submerged—at least 90%—in the herbed liquid. This setting promotes even cooking while enveloping the chicken in all those wonderful herbs.
Step 3: Cook the Chicken
Seal the lid securely and make sure the venting knob is in the sealing position. Set your Instant Pot to cook on high pressure for zero minutes. Yes, zero—this might sound unexpected, but the pressure build-up and natural release time will gently cook the chicken through perfectly.
Step 4: Natural Release
Allow the pressure to release naturally for 20 to 22 minutes. This slow release phase is critical as it lets the chicken rest and finish cooking gently in the steam, preserving its juiciness and tenderness while allowing flavors to meld.
Step 5: Check for Doneness
Once the pressure has fully released, open the lid carefully and check the internal temperature with a reliable meat thermometer. The thickest part of the chicken—the breast or thigh—should reach at least 161°F (72°C) for perfectly cooked poultry that’s safe and moist.
Step 6: Optional Step for Crispy Skin
If you love your chicken with crispy, golden skin, here’s where this recipe shines even brighter. Brush the entire bird with the unsalted butter and soy sauce mixture, then place it under a hot broiler for a few minutes until the skin turns a beautiful golden brown. Watching that skin crisp up is pure joy!
Step 7: Serve
Let the chicken rest for a few minutes after broiling. This pause locks in the juices before you carve it into delicious portions ready to impress your family or guests.
How to Serve Instant Pot Whole Chicken with Herbs and Optional Crispy Skin Recipe
Garnishes
Simple fresh herbs like chopped parsley, thyme sprigs, or rosemary add a lovely visual boost and a fresh herbaceous aroma that complements the flavors perfectly. A wedge of lemon on the side brightens each bite beautifully.
Side Dishes
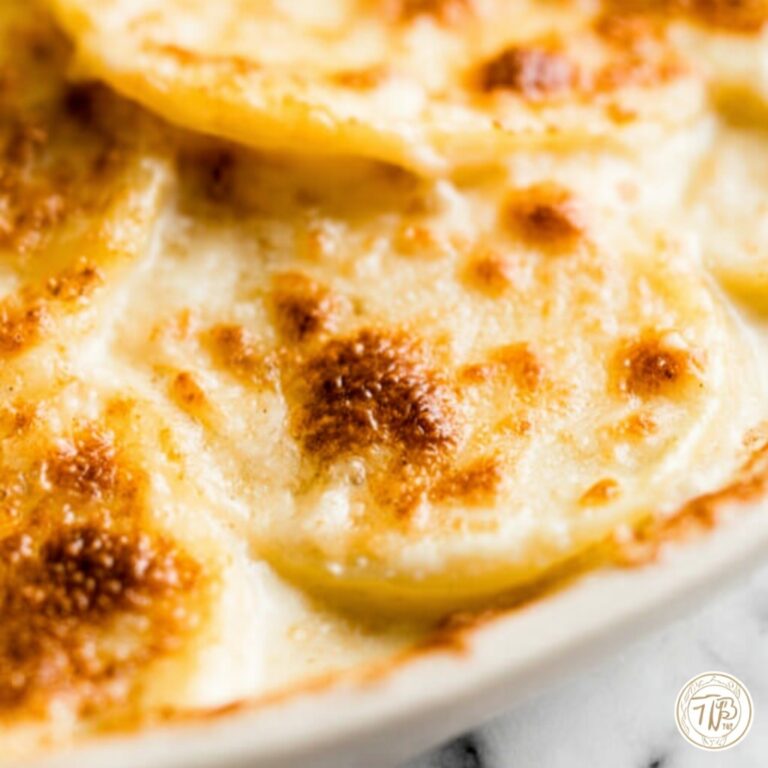
Classic roasted or mashed potatoes, a crisp green salad, or sautéed seasonal vegetables make ideal companions. You could even serve it with creamy polenta or a grain like quinoa to soak up the delicious chicken juices.
Creative Ways to Present
Serve the carved chicken on a large wooden board surrounded by herb sprigs and lemon wedges for a rustic yet elegant look. Alternatively, lay the slices atop a bed of lightly dressed greens or nestled with roasted root vegetables for a colorful and inviting presentation.
Make Ahead and Storage
Storing Leftovers
Once cooled, place leftover chicken in an airtight container and refrigerate for up to 3 days. Keeping the chicken moist is key, so consider adding a little broth or drippings when reheating.
Freezing
You can freeze cooked chicken in tightly sealed freezer bags or containers for up to 3 months. Label with the date for best rotation, and remember to thaw slowly in the refrigerator for even reheating.
Reheating
The best way to reheat this chicken is gently in the oven at 325°F, covered with foil, or in a microwave with a damp paper towel to maintain moisture. Reheating slowly helps retain that juicy texture you love.
FAQs
Can I cook a larger chicken in this recipe?
Yes! Larger chickens up to about 5 pounds work well, but be sure to check the internal temperature carefully and adjust natural release times if needed to ensure thorough cooking.
Do I have to use all the herbs listed?
Not at all. The herbs create a lovely blend, but feel free to swap out or omit what you don’t have. Thyme, rosemary, and bay leaves provide classic aroma, so at least one or two will keep the flavor vibrant.
Can I skip the crispy skin step?
Absolutely! The chicken is delicious and tender straight from the Instant Pot. The crispy skin is only for those who want an extra special finishing touch.
Is soy sauce necessary for the crispy skin?
It’s optional but helps create a beautiful golden color and adds a savory umami kick before broiling. You can omit it or substitute with a light brush of olive oil if preferred.
How long does it take to make this recipe start to finish?
From start to finish, including broiling time, expect about 1 hour. The hands-on prep is minimal, and the Instant Pot does most of the work, making this perfect for a weeknight or weekend dinner.
Final Thoughts
This Instant Pot Whole Chicken with Herbs and Optional Crispy Skin Recipe is pure magic for anyone craving a comforting, flavorful roast without the usual fuss. It’s quick, simple, and yields a tender, herb-infused chicken with the choice of a gorgeous crispy skin finish. I can’t wait for you to try it and make it a staple in your kitchen — trust me, your family will thank you!
Print
Instant Pot Whole Chicken with Herbs and Optional Crispy Skin Recipe
- Prep Time: 10 minutes
- Cook Time: 50 minutes
- Total Time: 1 hour
- Yield: 6 servings
- Category: Main Course
- Method: Instant Pot
- Cuisine: American
Description
This Instant Pot Whole Chicken recipe delivers a perfectly cooked, juicy, and tender chicken in about an hour. Using a flavorful herb-infused broth, the chicken is cooked under high pressure, and optionally finished under the broiler for crispy, golden skin. This method simplifies the cooking process while ensuring a delicious main dish perfect for any meal.
Ingredients
Broth Ingredients
- 8 cups cold water
- 5 teaspoons fine sea salt
- 2 bay leaves
- 1 teaspoon dried oregano
- 1 teaspoon dried rosemary
- 1 teaspoon dried thyme
Main Ingredients
- 1 whole chicken (about 4–5 pounds)
Optional Ingredients
- 2 tablespoons unsalted butter
- 1 tablespoon soy sauce
Instructions
- Prepare the Instant Pot: Add the water, salt, bay leaves, oregano, rosemary, and thyme to the Instant Pot. Stir gently to dissolve the salt evenly throughout the liquid.
- Submerge the Chicken: Carefully place the whole chicken into the Instant Pot with the breast side facing up. Make sure the chicken is positioned so it is at least 90% submerged in the herb broth.
- Cook the Chicken: Close the Instant Pot lid and set the venting knob to the sealing position. Program the Instant Pot to cook on high pressure for 0 minutes, which initiates the pressure cooking with natural carryover heat.
- Natural Release: Allow the pressure to naturally release for 20 to 22 minutes without manually venting, enabling the chicken to cook gently and retain moisture.
- Check for Doneness: Once pressure is fully released, open the lid carefully. Use a meat thermometer to check that the thickest part of the chicken has reached a safe internal temperature of at least 161°F (72°C).
- Optional Step for Crispy Skin: For crispy, golden skin, remove the chicken from the pot, brush it with unsalted butter and soy sauce evenly, then place it under a preheated broiler in your oven for a few minutes until the skin becomes crisp and golden brown.
- Serve: Let the chicken rest for a few minutes to allow juices to redistribute. Then slice and serve as desired.
Notes
- Ensure the chicken is almost fully submerged in the broth to promote even cooking.
- The 0 minutes on the Instant Pot means it cooks using the time to come to pressure and natural release, effectively slow-cooking the chicken gently.
- Using a meat thermometer is important to guarantee safe internal temperature and doneness.
- Broiling after pressure cooking is optional but enhances flavor and texture with crispy skin.
- You can add other herbs or aromatics to the broth according to personal taste.
