
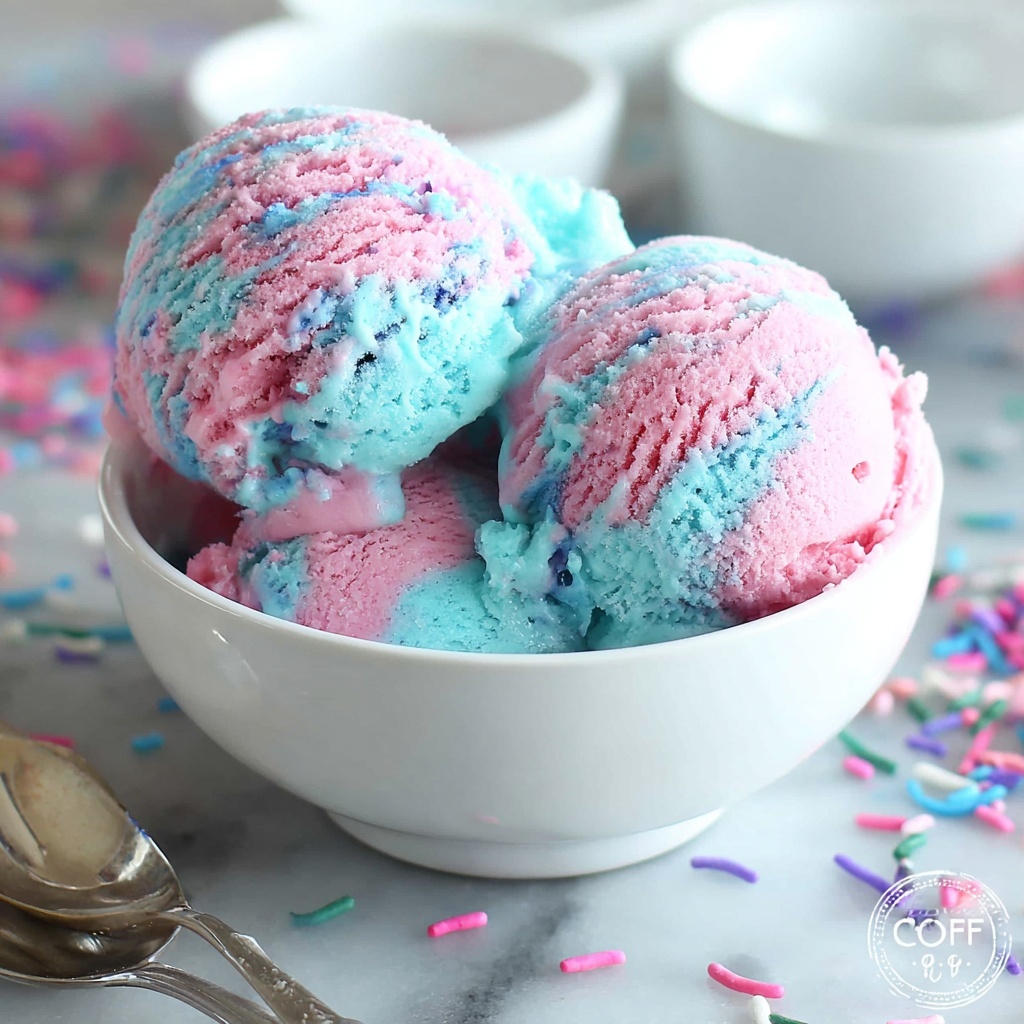
If you have a sweet tooth and a nostalgic love for carnival treats, you are going to adore this No-Churn Cotton Candy Ice Cream Recipe. It’s a delightful, whimsical twist on homemade ice cream that tastes just like everyone’s favorite fluffy spun sugar treat. The best part? You don’t need an ice cream maker to achieve this airy, colorful dessert, making it as simple as it is enchanting. With its pastel swirls and creamy texture, this recipe is perfect for summer afternoons, birthday parties, or any time you want to add a little magic to your dessert table.
Ingredients You’ll Need
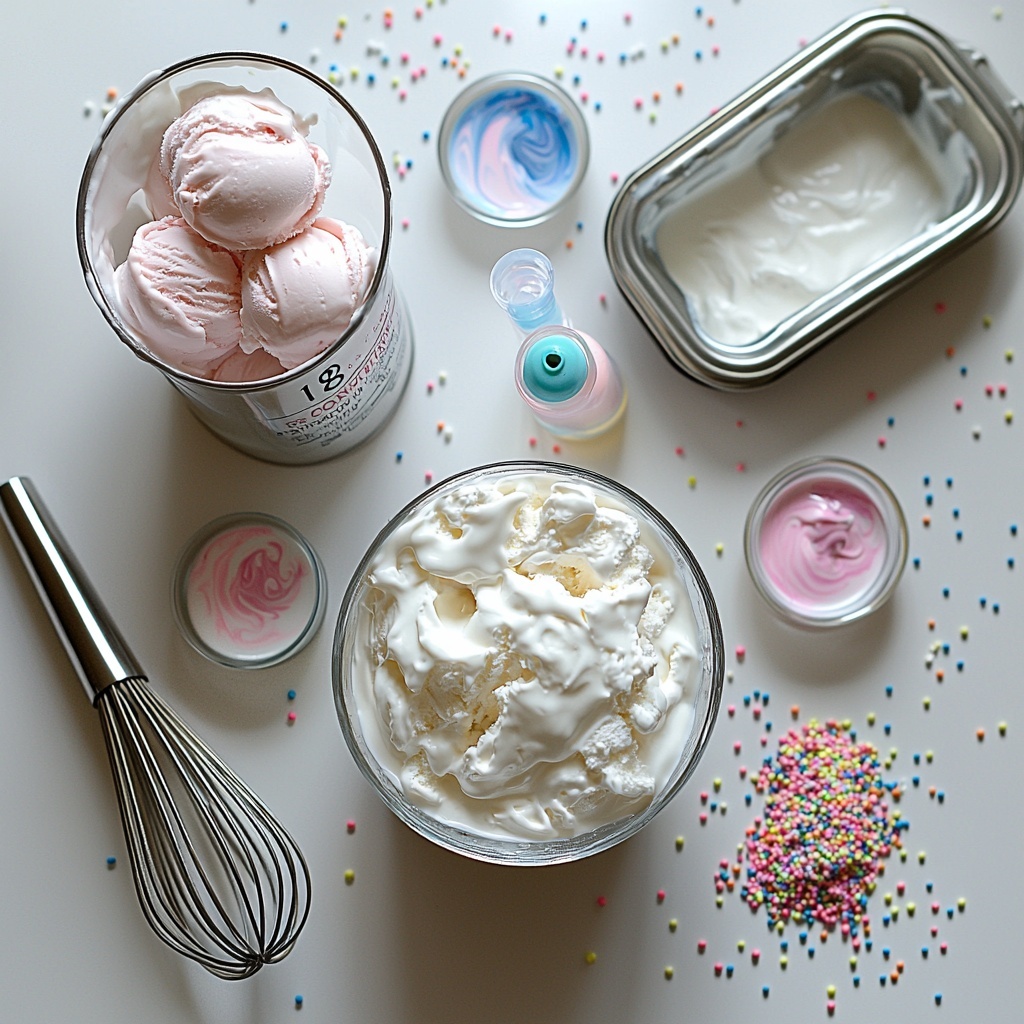
The beauty of this No-Churn Cotton Candy Ice Cream Recipe lies in its simplicity. Each ingredient plays a crucial role in creating that dreamy, velvety texture and authentic cotton candy flavor that’s both fun and indulgent.
- 2 cups very cold heavy whipping cream: This is the base that gives the ice cream its creamy, rich texture and helps achieve stiff peaks for a light, fluffy consistency.
- 1 14-ounce can sweetened condensed milk (cold): Adds natural sweetness and smoothness, acting as a creamy binder without needing to churn.
- 2 teaspoons cotton candy flavoring: The star ingredient that delivers that iconic sugary carnival taste, transforming this ice cream into a true nostalgic treat.
- Food coloring in pink and blue (optional): These vibrant colors make the ice cream as visually delightful as it tastes, evoking the classic cotton candy look.
How to Make No-Churn Cotton Candy Ice Cream Recipe
Step 1: Chill Your Tools
Start by placing your loaf pan, a large mixing bowl, and the whisk—or your stand mixer bowl—in the freezer for about 30 minutes. This step is more than a suggestion; cold utensils help the cream whip faster and hold stiff peaks, which are essential for that perfect fluffy texture in your ice cream.
Step 2: Whip the Cream
Next, pour the very cold heavy whipping cream into your chilled bowl. Using a hand or stand mixer, whip the cream for about 4 minutes until it forms stiff peaks. This means when you lift the whisk, the cream should hold a firm peak that doesn’t droop. This airy base is the secret to a smooth and light no-churn ice cream.
Step 3: Combine Condensed Milk and Flavor
In a separate bowl, stir together the chilled sweetened condensed milk and the cotton candy flavoring until fully blended. This mixture is what infuses your ice cream with that unmistakable carnival sweetness and flavor.
Step 4: Fold the Mixtures Together
Gently fold the condensed milk mixture into the whipped cream. Go slow and use a spatula to combine them carefully, preserving the airiness of the whipped cream. This folding step is what keeps your ice cream light while creating that rich, creamy consistency.
Step 5: Add Color and Prepare for Freezing
Divide your ice cream base evenly into two separate bowls. Add pink food coloring to one bowl and blue to the other, stirring each gently to create vibrant hues reminiscent of classic cotton candy. If you skip the colors, the ice cream will still taste amazing, but the visuals are part of the charm!
Step 6: Layer and Freeze
Take your chilled loaf pan or container out of the freezer and spoon the pink and blue mixtures in dollops, alternating colors for that fun swirled effect. You can even lightly swirl them with a knife if you want a marbled look. For extra texture and whimsy, sprinkle the top with your choice of jimmies or sprinkles—they add a playful crunch.
Step 7: Set Overnight
Freeze the ice cream mixture overnight at least 8 hours to let it firm up perfectly. When it’s ready, your No-Churn Cotton Candy Ice Cream will have that dreamy scoopability and cool sweetness that everyone will rave about.
How to Serve No-Churn Cotton Candy Ice Cream Recipe
Garnishes
Enhance your already delightful ice cream by adding fun garnishes. Think rainbow sprinkles, edible glitter, or tiny pastel marshmallows. These little details amplify both the visual appeal and the playful vibe of this treat.
Side Dishes
This ice cream pairs wonderfully with light and festive sides like fresh berries, crisp waffle cones, or crunchy sugar cookies. The contrast in textures really brings out the creamy softness of the cotton candy ice cream.
Creative Ways to Present
For parties, consider serving your No-Churn Cotton Candy Ice Cream Recipe in clear parfait glasses layered with whipped cream, cotton candy clouds, or even a drizzle of berry syrup. You can turn it into an ice cream sundae bar and let guests customize with different toppings for a memorable experience.
Make Ahead and Storage
Storing Leftovers
If you find yourself with leftovers (which is technically impossible, but let’s pretend), store the ice cream in an airtight container with a piece of parchment paper pressed directly onto the surface. This prevents ice crystals from forming and keeps the texture creamy for days.
Freezing
You can freeze this No-Churn Cotton Candy Ice Cream Recipe for up to two weeks without losing the magical flavor. Just make sure it’s kept in a well-sealed container to maintain freshness and protect against freezer burn.
Reheating
Unlike baked goods, this ice cream isn’t meant to be reheated. To enjoy the best texture and flavor, simply let it sit at room temperature for 5–10 minutes before scooping, which softens it perfectly without melting it completely.
FAQs
Can I use different flavors instead of cotton candy?
Absolutely! The base recipe is versatile and can be adapted with other extracts like vanilla, strawberry, or even bubblegum to suit your preferences.
Do I really need to chill the bowl and whisk before whipping cream?
Yes, chilling tools is a helpful tip that ensures your cream whips up light and fluffy quickly, which is crucial for the ice cream’s texture.
Is this ice cream safe for kids?
Definitely! Since this recipe contains no raw eggs or alcohol, it’s a kid-friendly dessert perfect for birthday parties and family gatherings.
What if I don’t have food coloring? Will the ice cream still taste good?
For sure! The food coloring is just for fun visuals. The delicious cotton candy flavor shines through even without it.
Can I double the recipe for a bigger batch?
You can double or even triple this recipe, just be sure to use larger mixing bowls and containers to give enough room for folding and freezing.
Final Thoughts
I can’t wait for you to whip up this joyful, colorful No-Churn Cotton Candy Ice Cream Recipe! It’s one of those treats that excites both kids and adults, bringing a bit of carnival magic right into your kitchen without any fuss. Once you taste this creamy, dreamy delight, you’ll understand why it’s a forever favorite—and maybe even a new go-to for every season. So get your mixing bowls ready and let the cotton candy fun begin!
Print
No-Churn Cotton Candy Ice Cream Recipe
- Prep Time: 40 minutes
- Cook Time: 0 minutes
- Total Time: 8 hours 40 minutes
- Yield: 6 servings
- Category: Dessert
- Method: No-Cook
- Cuisine: American
Description
This No-Churn Cotton Candy Ice Cream recipe offers a fun and easy way to make creamy, colorful ice cream at home without an ice cream maker. Featuring fluffy whipped cream, sweetened condensed milk, and cotton candy flavoring, this delightful treat is perfect for parties or a whimsical dessert anytime.
Ingredients
Ice Cream Base
- 2 cups very cold heavy whipping cream
- 1 (14-ounce) can sweetened condensed milk (cold)
- 2 teaspoons cotton candy flavoring
Optional
- Food coloring in pink and blue
- Sprinkles or jimmies for garnish
Instructions
- Chill Equipment and Ingredients: Place your loaf pan, large bowl, and whisk in the freezer for about 30 minutes before starting, ensuring the whipping cream and condensed milk are very cold for optimal whipping.
- Whip Cream: Using a large bowl or stand mixer, beat the heavy whipping cream until stiff peaks form. This usually takes about 4 minutes and ensures a light, airy texture for the ice cream base.
- Mix Condensed Milk and Flavoring: In a medium bowl, stir together the sweetened condensed milk with the cotton candy flavoring until the mixture is smooth and evenly blended.
- Combine Mixtures: Gently fold the condensed milk mixture into the whipped cream gradually, maintaining the fluffy texture by folding carefully instead of stirring vigorously.
- Divide and Color: Split the combined ice cream mixture evenly into two separate bowls. Add pink food coloring to one bowl and blue to the other, mixing each until the color is well incorporated.
- Layer in Pan: Remove the chilled loaf pan from the freezer and spoon dollops of the colored mixtures alternately into the pan to create a fun swirl or layered effect.
- Add Toppings (Optional): Sprinkle the top with fun sprinkles or jimmies to add a festive touch and extra texture if desired.
- Freeze: Cover the pan and freeze the mixture overnight (at least 8 hours) until firm and scoopable.
Notes
- Make sure all dairy ingredients and equipment are very cold to achieve perfect whipping.
- Do not overmix when folding the condensed milk into whipped cream to keep the ice cream light and fluffy.
- Food coloring is optional but recommended for a classic cotton candy look.
- Use airtight container or plastic wrap over the pan when freezing to prevent ice crystals.
- The ice cream is best consumed within one week for optimal flavor and texture.


