
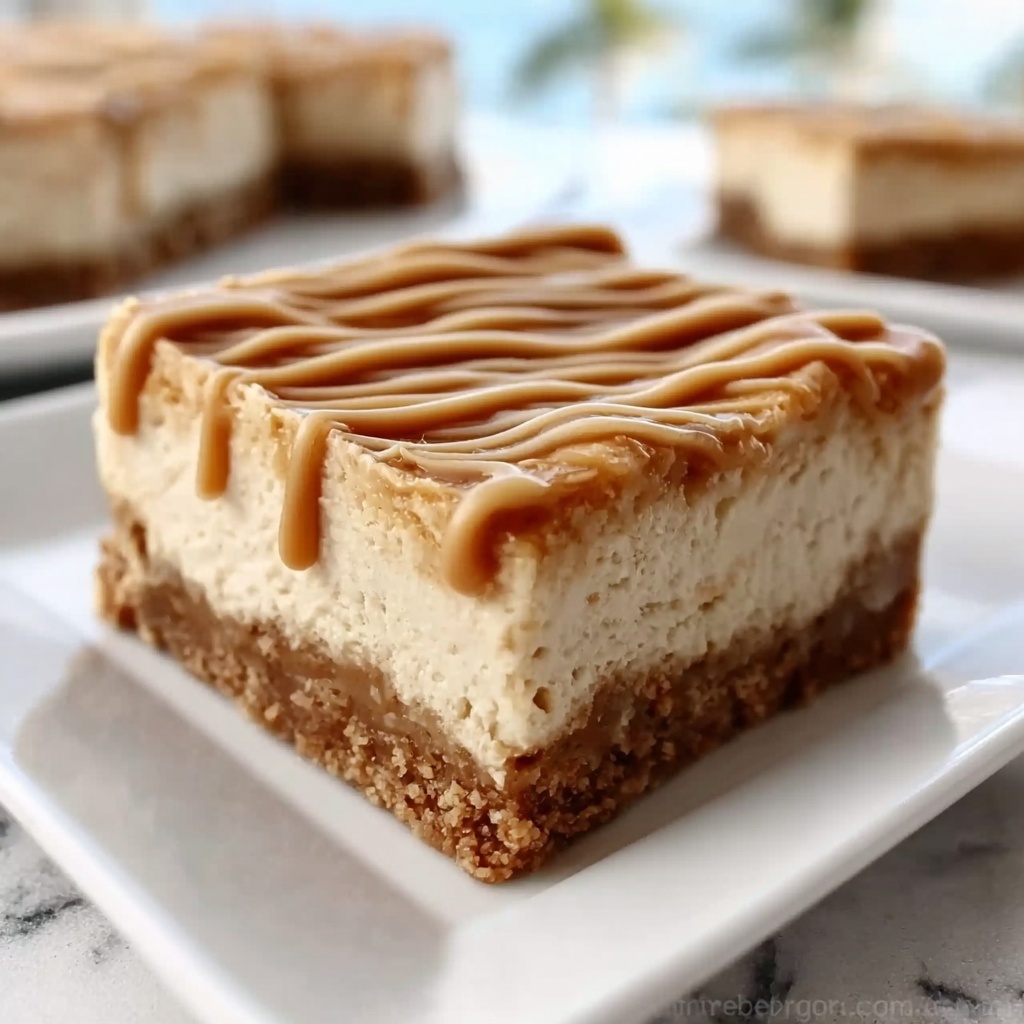
If you love the perfect blend of creamy peanut butter, crunchy graham cracker crust, and luscious chocolate topping, the Peanut Butter Lunch Lady Bars Recipe is an absolute must-try. This nostalgic treat balances buttery richness with sweet softness, creating a bar that’s both satisfying and utterly addictive. Whether you’re packing lunchboxes, surprising guests, or treating yourself to an indulgent snack, these bars deliver a wonderful homemade charm that’s sure to become a favorite in your rotation.
Ingredients You’ll Need
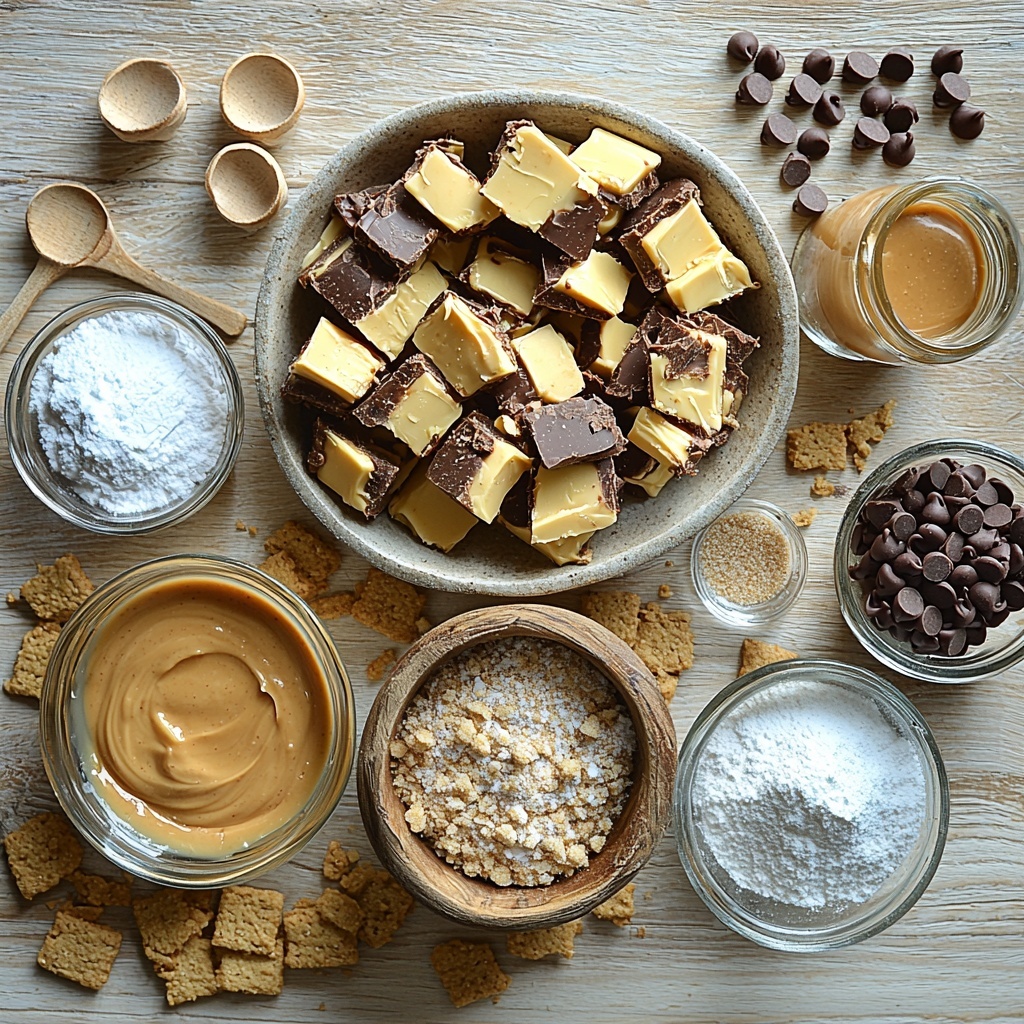
Gathering the ingredients for the Peanut Butter Lunch Lady Bars Recipe is a breeze because each plays a crucial role in building layers of flavor and texture. From the buttery crust to the creamy peanut butter filling and glossy chocolate topping, every component works in harmony to deliver that perfect bite.
- 1 cup unsalted butter, melted: Provides a rich, golden base that binds the crust together perfectly.
- 2 cups graham cracker crumbs: Adds a sweet, slightly nutty crunch that forms the sturdy foundation.
- 1/2 cup granulated sugar: Sweetens the crust just enough without overpowering the peanut butter.
- 1 cup unsalted butter, softened: Essential for a smooth, fluffy filling texture.
- 1 cup creamy peanut butter: Brings classic peanut flavor and creamy consistency to the filling.
- 2 cups powdered sugar: Adds sweetness to the peanut butter filling while keeping it silky smooth.
- 2 teaspoons vanilla extract: Enhances the overall flavor with warm, fragrant notes.
- 1 cup semisweet chocolate chips: Creates a deliciously rich and shiny topping.
- 1/4 cup creamy peanut butter: Mixed into the chocolate for extra peanut butter goodness and smoothness.
How to Make Peanut Butter Lunch Lady Bars Recipe
Step 1: Prepare the Crust
Begin by preheating your oven to 350°F and lining a 9×13-inch baking pan with parchment paper—this ensures easy removal later. In a large bowl, mix together the melted butter, graham cracker crumbs, and granulated sugar until everything is combined perfectly. Press this mixture firmly into the pan to create an even layer. Bake it for 10 minutes, then allow it to cool completely before moving on to the next step. This crust is what gives the bars a satisfying crunch beneath the creamy layers.
Step 2: Make the Peanut Butter Filling
With the crust cooling, start on the dreamy peanut butter filling. In a separate bowl, beat softened butter and creamy peanut butter together until light and fluffy. This step is essential as it incorporates air, making the filling delightfully smooth. Next, slowly add powdered sugar and vanilla extract while continuing to beat until completely combined and creamy. Once ready, spread this luscious mixture evenly over the cooled crust, creating a velvety layer bursting with peanut butter flavor.
Step 3: Create the Chocolate Topping
Now for the crowning glory: the chocolate peanut butter topping. Melt the semisweet chocolate chips and the quarter cup of creamy peanut butter together in short 20-second bursts, stirring in between to achieve a silky-smooth mixture. This blend ties the two classic flavors beautifully, balancing sweetness and richness. Pour and spread this glossy chocolate over the peanut butter layer with care, ensuring every corner is covered. It’s this final touch that makes the bars irresistibly beautiful and delectable.
Step 4: Chill and Slice
Refrigerate the pan for at least 1 hour or until the layers are fully set and firm to the touch. Chilling is crucial—it helps all flavors meld together and makes slicing neat and tidy. Once chilled, cut the bars into 16 equal portions. Each piece serves as a perfect handheld dessert or snack, ready to brighten anyone’s day with that classic peanut butter goodness.
How to Serve Peanut Butter Lunch Lady Bars Recipe
Garnishes
If you want to add a little pizzazz when serving, consider a light dusting of crushed peanuts or a drizzle of extra melted chocolate on top. A sprinkle of flaky sea salt can also elevate the flavors, providing a delightful contrast to the sweetness. Fresh berries on the side can add a pop of color and a burst of freshness, complementing the rich bars wonderfully.
Side Dishes
These bars pair delightfully with a glass of cold milk or a hot cup of coffee or tea, balancing the richness with refreshing or warm beverages. For a festive twist, serve alongside fresh fruit salad or a dollop of whipped cream to accentuate the creamy textures and provide a fresh counterpoint.
Creative Ways to Present
For parties or gatherings, stack the bars on a decorative platter, interspersing with edible flowers or garnishes for a charming display. Wrapping individual bars in parchment paper tied with twine creates a cute, portable treat for lunchboxes or gift boxes. You can even cut the bars into bite-sized squares for easier snacking and to encourage sharing among friends.
Make Ahead and Storage
Storing Leftovers
Leftover Peanut Butter Lunch Lady Bars Recipe can be stored in an airtight container in the refrigerator for up to 5 days. Keeping them chilled helps maintain the texture and freshness of the creamy filling and chocolate topping. Be sure to separate layers with parchment paper if stacking to prevent sticking.
Freezing
You can freeze these bars for longer storage by wrapping individual slices tightly in plastic wrap and placing them in a freezer-safe container or bag. Freeze for up to 3 months. When you’re ready to eat, thaw them overnight in the fridge to preserve the layers’ texture without melting or becoming soggy.
Reheating
Because these bars are best enjoyed chilled, reheating is usually unnecessary. However, if you prefer a softer texture, briefly warm a slice in the microwave for 10 to 15 seconds. Be careful not to overheat, or the chocolate topping may become too melty and lose its structure.
FAQs
Can I use crunchy peanut butter instead of creamy?
Yes! Using crunchy peanut butter will add a delightful texture variation to the filling. Just be aware it may make spreading the filling slightly less smooth, but the added crunch can be a tasty twist.
Is it possible to make these bars gluten-free?
Absolutely. Simply substitute the graham cracker crumbs with gluten-free graham cracker crumbs or crushed gluten-free cookies. This swap will keep the flavor while accommodating gluten sensitivities.
Can I make these bars vegan?
You can try! Use vegan butter alternatives, a plant-based peanut butter, and dairy-free chocolate chips to make a vegan version of the Peanut Butter Lunch Lady Bars Recipe. Keep in mind that textures might vary slightly.
How long should I refrigerate the bars before serving?
Refrigerating for at least 1 hour is important to allow the layers to set properly. For the best texture, you can refrigerate up to overnight without issue, making these bars a great make-ahead dessert.
Can these bars be frozen before or after slicing?
It’s easiest to freeze the bars after slicing to portion them individually. However, you can also freeze the entire pan before slicing; just allow it to thaw slightly before cutting to avoid crumbling.
Final Thoughts
Making the Peanut Butter Lunch Lady Bars Recipe is like delivering a little slice of comfort straight to your kitchen. With its irresistible combination of buttery crust, creamy peanut butter filling, and rich chocolate topping, these bars never fail to impress. Whether you’re treating family, friends, or yourself, this recipe is sure to become a beloved staple in your dessert lineup. Don’t wait—grab your ingredients and enjoy this timeless, delightful treat!
Print
Peanut Butter Lunch Lady Bars Recipe
- Prep Time: 20 minutes
- Cook Time: 10 minutes
- Total Time: 1 hour 30 minutes
- Yield: 16 bars
- Category: Dessert
- Method: Baking
- Cuisine: American
Description
Peanut Butter Lunch Lady Bars are a delicious no-bake treat featuring a crunchy graham cracker crust, creamy peanut butter filling, and a rich chocolate peanut butter topping. These bars are easy to prepare, require minimal baking, and are perfect for an indulgent snack or dessert.
Ingredients
Crust
- 1 cup unsalted butter, melted
- 2 cups graham cracker crumbs
- 1/2 cup granulated sugar
Filling
- 1 cup unsalted butter, softened
- 1 cup creamy peanut butter
- 2 cups powdered sugar
- 2 teaspoons vanilla extract
Topping
- 1 cup semisweet chocolate chips
- 1/4 cup creamy peanut butter
Instructions
- Preheat and prepare pan. Preheat your oven to 350°F (175°C) and line a 9×13-inch baking pan with parchment paper to prevent sticking and ease removal.
- Make the crust mixture. In a large bowl, combine the melted unsalted butter, graham cracker crumbs, and granulated sugar. Mix until all ingredients are fully incorporated.
- Bake the crust. Press the mixture firmly and evenly into the prepared pan. Bake for 10 minutes, then allow the crust to cool completely before adding the filling.
- Prepare the peanut butter filling. In a mixing bowl, beat the softened unsalted butter with creamy peanut butter until the texture is smooth and fluffy, ensuring an even consistency.
- Add powdered sugar and vanilla. Gradually beat in the powdered sugar and vanilla extract until the filling is creamy and well combined.
- Spread the filling over crust. Evenly spread the peanut butter filling over the cooled graham cracker crust, smoothing the surface with a spatula for a uniform layer.
- Melt chocolate topping. In short 20-second intervals, melt the semisweet chocolate chips with creamy peanut butter, stirring between intervals until the mixture is smooth and homogenous.
- Top the bars. Pour and spread the melted chocolate peanut butter mixture evenly over the peanut butter filling layer.
- Chill to set. Refrigerate the layered bars for at least 1 hour to allow the chocolate topping and filling to fully set.
- Slice and serve. After chilling, slice the bars into 16 equal pieces and enjoy as a sweet snack or dessert.
Notes
- Ensure the crust is completely cooled before spreading the filling to avoid melting the peanut butter mixture.
- Melting chocolate in short intervals prevents burning and ensures smooth texture.
- Store leftover bars in the refrigerator to maintain freshness and firmness.
- For easier slicing, use a sharp knife and wipe it clean between cuts.
- This recipe can be doubled easily for larger batches.