
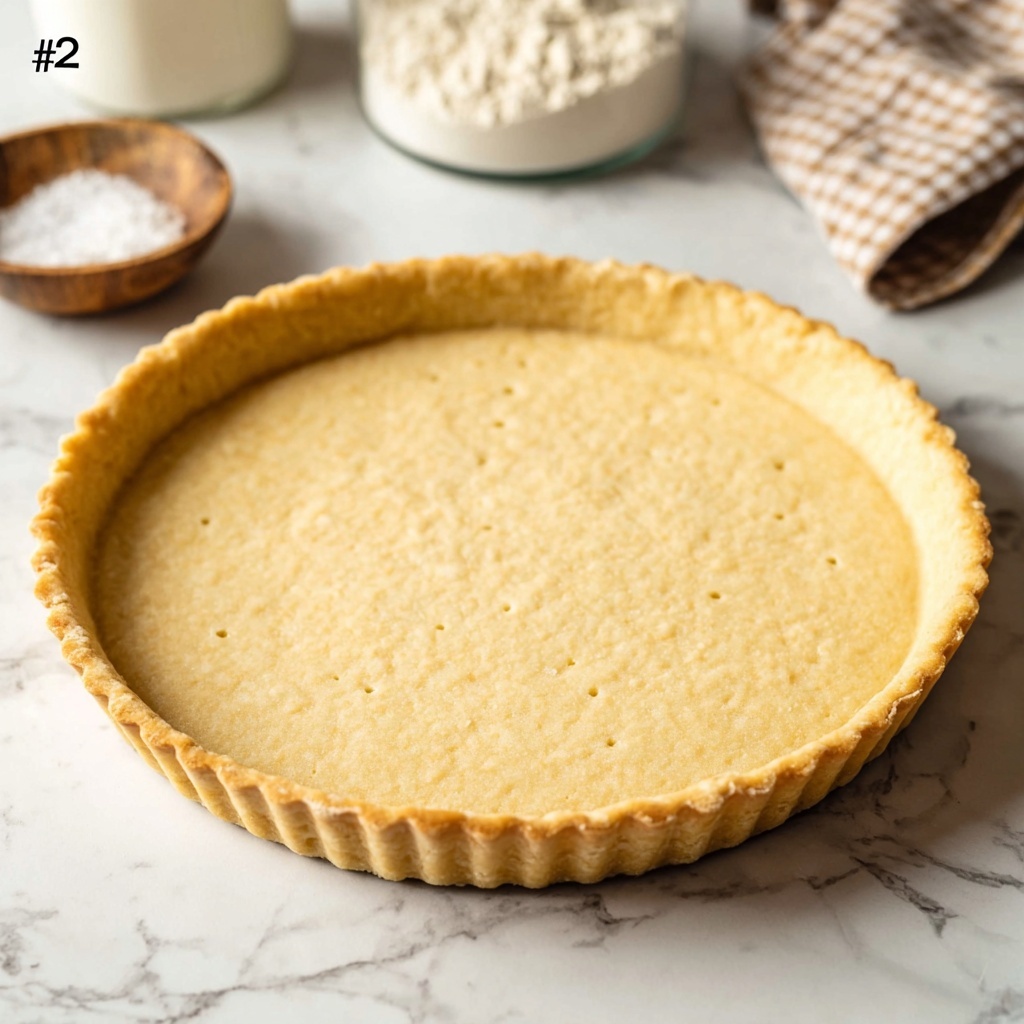
If you’ve ever yearned for a perfectly flaky, buttery crust without any animal products, this Vegan Shortcrust Pastry Recipe is exactly what you need in your kitchen arsenal. It’s wonderfully tender yet sturdy enough to hold all your favorite fillings, sweet or savory. What makes this recipe truly special is how simple the ingredients are, yet they come together to create a pastry that’s crisp, golden, and utterly delightful. Whether you’re making a classic fruit tart or a savory quiche, this vegan shortcrust pastry will be your go-to foundation for countless delicious creations.
Ingredients You’ll Need
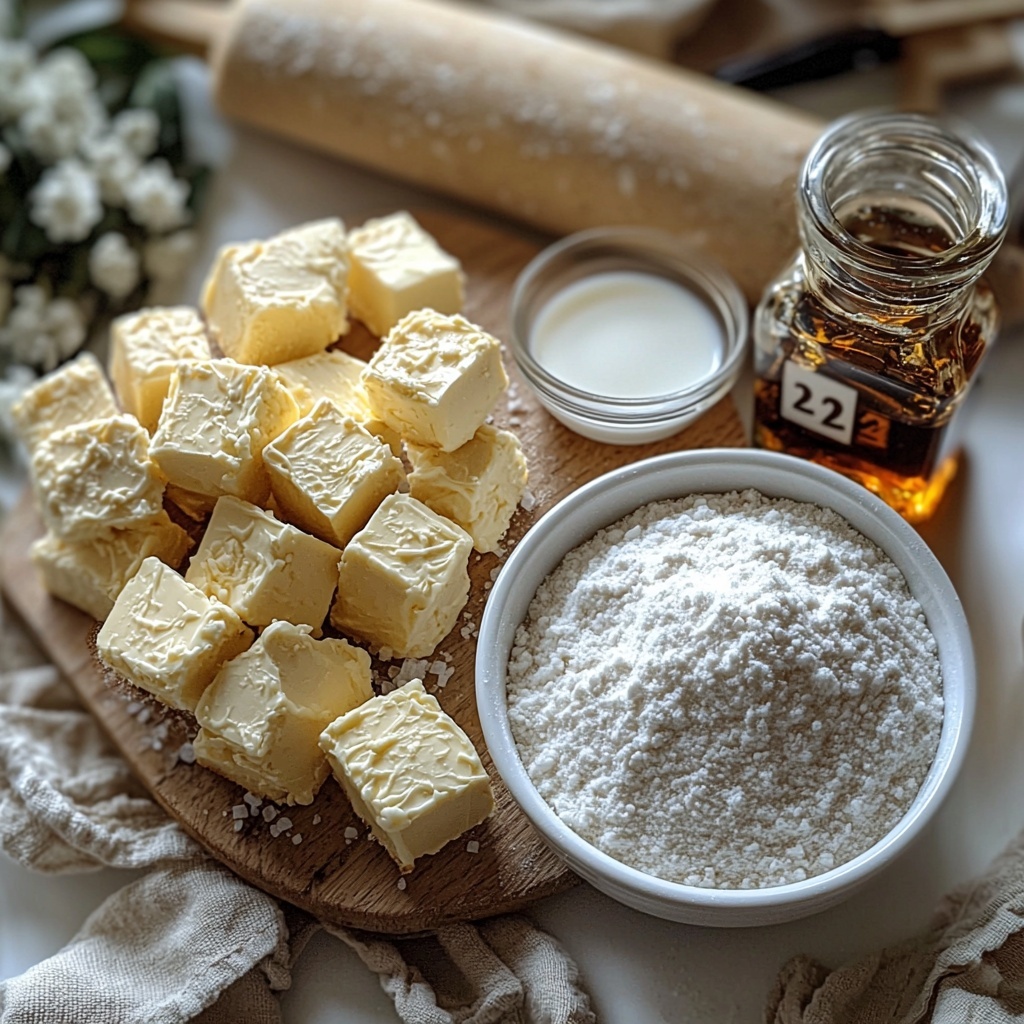
Gathering these staple ingredients is all it takes to whip up an irresistible vegan shortcrust pastry. Each element plays a key role, from delivering the flaky texture to adding a subtle sweetness or enhancing that buttery mouthfeel we all love.
- 165 g all-purpose flour: The foundation of your crust, it provides structure and lightness when properly handled.
- 100 g vegan butter (cold, cubed): Cold vegan butter is crucial for flaky layers and rich flavor without dairy.
- 25 g granulated sugar: Adds a delicate sweetness that balances the pastry, especially in desserts.
- ½ teaspoon sea salt: A pinch of salt awakens all the other flavors, giving the dough depth.
- 1 tablespoon non-dairy milk: Just enough liquid to bring the dough together without making it sticky.
- ½ teaspoon vanilla extract (optional): A subtle hint of vanilla elevates your pastry, perfect for sweet tarts.
How to Make Vegan Shortcrust Pastry Recipe
Step 1: Preheat and Prepare Your Pan
Start by preheating your oven to fan-forced 160°C/320°F or conventional 180°C/356°F. Preparing your tart tin is key to a flawless bake—grease it lightly with oil or vegan butter, and dust with a bit of flour to prevent sticking. For extra insurance, lining the base with parchment paper ensures easy removal later. A well-prepared tin means a perfect crust release every time.
Step 2: Mix and Chill the Dough
Place the flour, cold vegan butter cubes, sugar, sea salt, non-dairy milk, and optional vanilla extract into a food processor. Blitz them just a few seconds until the dough starts to clump together—avoid over-processing to keep that flaky texture. Once mixed, gather the dough into a ball, flatten it gently into a disc, then wrap it tightly with clingfilm or store in an airtight container. Pop it into the fridge for at least 30 minutes—this chilling step is essential to relax the gluten and keep the pastry tender and crisp.
Step 3: Roll Out the Dough
After chilling, take the dough out and roll it on a lightly floured surface. Aim to make it about an inch wider than your tart tin circumference. Using the rolling pin, carefully lift the pastry over the tin, then gently press it into the sides with your fingers—this helps prevent tearing. Trim the edges neatly with a knife or pastry scissors so the dough sits just a bit higher than the rim, allowing for that charming rustic edge. Don’t forget to pierce the base with a fork several times—this prevents bubbling and keeps the crust perfectly flat.
Step 4: Parbake the Crust
To avoid soggy bottoms when you add fillings, parbaking is a smart move. Cut a circle of parchment paper a bit bigger than your tart, lay it over the dough, and fill with dried beans, rice, or baking beads to weigh it down. Bake for 15 minutes until the edges begin to set. Carefully remove the weights and paper without disturbing the tart. If your filling requires time in the oven (like for fruit tarts), follow those instructions; otherwise, proceed to blind bake for a fully cooked crust.
Step 5: Blindbake for a Fully Cooked Shell
Return the tart shell to the oven and bake for an additional 12-15 minutes until it’s a lovely, light golden brown. This step fully cooks the crust for fillings that are added cold or require refrigeration to set, such as pastry cream or lemon curd. Once baked, place the tin on a rack to cool completely before removing the tart. This helps the crust firm up and keeps your tart intact and beautiful.
Step 6: Storage Tips for the Dough
If you’re not ready to use your dough immediately, store it carefully. Wrapped tightly in clingfilm and kept in the fridge, your dough will stay fresh for up to 2 days. For longer storage, freeze the dough for up to 2 months. When ready to bake, simply thaw it overnight in the fridge—it keeps its texture and flavor just as well as freshly made.
How to Serve Vegan Shortcrust Pastry Recipe
Garnishes
The beauty of this vegan shortcrust pastry is that it pairs splendidly with all manner of garnishes. For a sweet tart, think fresh berries, a dusting of powdered sugar, or a glossy glaze that adds shine and flair. If you’ve made a savory tart, consider sprigs of fresh herbs like thyme or rosemary to visually elevate your creation and add a burst of fragrant flavor.
Side Dishes
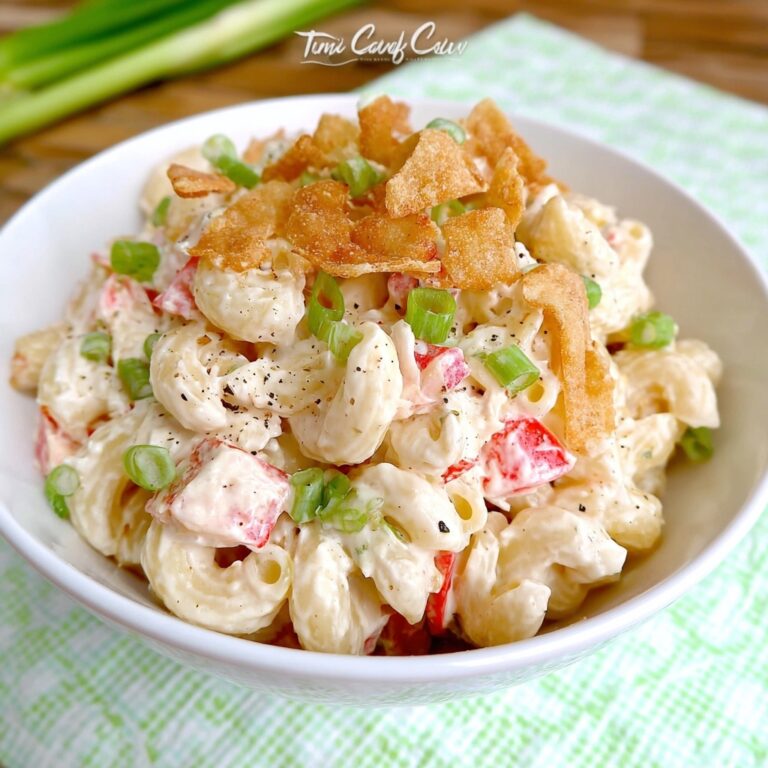
When serving a savory tart made with this Vegan Shortcrust Pastry Recipe, complement it with vibrant side salads featuring peppery arugula or crisp fennel. A warm bowl of soup alongside a slice turns the meal into a cozy comfort feast. For dessert tarts, pair with a dollop of coconut whipped cream or a scoop of vegan vanilla ice cream for extra indulgence.
Creative Ways to Present
Impress guests by decorating the edges of your tart with crimped or fluted patterns using your fingertips or a fork. For a rustic touch, top your sweet tart with edible flowers or arrange fruit slices artistically. Savory pies can be personalized with lattice designs or cut-out shapes from extra pastry scraps. The possibilities for presentation when using this Vegan Shortcrust Pastry Recipe are truly endless and always fun to experiment with.
Make Ahead and Storage
Storing Leftovers
If you find yourself with leftover tart, it keeps well in the refrigerator for up to 2 days. Cover it lightly with foil or place it in an airtight container to maintain crispness. Leftover pastry bases without filling can also be stored wrapped in clingfilm, ready to be filled and baked later.
Freezing
This Vegan Shortcrust Pastry Recipe is fantastic for freezing, whether dough or fully baked shells. Freeze unbaked tart shells once parbaked, wrapped well in foil and an airtight container, for up to 2 months. When ready to enjoy, thaw overnight in the fridge before reheating or filling. The texture remains just as flaky and delicious after freezing.
Reheating
To bring your tart back to life after refrigeration or freezing, warm it gently in a preheated oven at 160°C/320°F for about 10-15 minutes. This restores crispness and warmth without drying the pastry out. Avoid microwaving as it tends to make the crust soggy and less enjoyable.
FAQs
Can I use a different type of flour for this Vegan Shortcrust Pastry Recipe?
Yes, while all-purpose flour is recommended for its balanced protein content, you can substitute with pastry flour for a more tender crust. Avoid whole wheat flours as they tend to make the pastry denser unless you don’t mind a heartier texture.
What vegan butter brand do you suggest for the best results?
Look for block-style vegan butters with a high fat content and minimal water. Brands like Earth Balance or Miyoko’s tend to perform well because they create the desired flakiness and rich flavor in the dough.
Is it necessary to chill the dough before rolling it out?
Absolutely! Chilling the dough relaxes the gluten and helps keep the vegan butter cold. This step is essential to stopping the dough from shrinking during baking and achieving that perfect flaky texture.
Can I make this pastry gluten-free?
You can attempt a gluten-free version, but it will require different flour blends and potentially binding agents like xanthan gum. Gluten-free shortcrust pastries can be more delicate, so consider following a recipe specifically designed for gluten-free baking for best results.
How long can I keep the parbaked tart shell before adding filling?
You can keep the parbaked shell at room temperature for a few hours or in the fridge overnight covered with foil to prevent it from drying out. Just make sure to allow it to come to room temperature before filling for the most even results.
Final Thoughts
This Vegan Shortcrust Pastry Recipe is sure to become a cherished staple in your cooking routine. It’s simple, reliable, and wonderfully versatile—every bite offering that golden, flaky bite we all crave from the best pastries. Whether you’re a seasoned baker or just starting out, I can’t wait for you to try it and watch your desserts and savory dishes come to life with this beautiful crust. Happy baking!
Print
Vegan Shortcrust Pastry Recipe
- Prep Time: 10 minutes
- Cook Time: 30 minutes
- Total Time: 40 minutes
- Yield: 10 servings (one 9-inch tart shell)
- Category: Dessert
- Method: Baking
- Cuisine: Vegan
- Diet: Vegan
Description
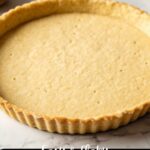
This Vegan Shortcrust Pastry recipe offers a buttery, flaky base perfect for both sweet and savory tarts. Made without any animal products, it’s an ideal gluten-friendly alternative to traditional shortcrust pastry, featuring cold vegan butter and all-purpose flour to create a versatile, easy-to-make dough that parbakes and blind-bakes beautifully, providing a crisp and golden tart shell for your favorite fillings.
Ingredients
Pastry Ingredients
- 165 g all-purpose flour (plain flour)
- 100 g vegan butter (block-style, cold, cubed)
- 25 g granulated sugar (organic if based in the US)
- ½ teaspoon sea salt
- 1 tablespoon non-dairy milk
- ½ teaspoon vanilla extract (optional)
Instructions
- Preheat oven and prepare pan: Preheat your oven to fan-forced 160°C/320°F or conventional 180°C/356°F. Lightly grease the base and sides of a 9-inch round tart tin with oil or vegan butter, and optionally dust with flour. You can also line the base with parchment paper for easier removal.
- Mix and chill the dough: Place the flour, cold vegan butter, sugar, sea salt, non-dairy milk, and optional vanilla extract into a food processor. Blitz for a few seconds until the mixture forms a loose dough. Gather the dough into a ball, flatten it into a disc, wrap in clingfilm or place in an airtight container, and refrigerate for 30 minutes to chill.
- Roll out the dough: On a lightly floured surface, roll out the chilled dough to about an inch larger than the tart tin. Carefully lift the dough over the tin and gently press it into the sides and base. Trim excess dough around the edges, allowing it to rise slightly above the tin. Use a fork to prick holes in the base to prevent puffing during baking.
- Parbake the crust: Cut a sheet of parchment paper to fit the tart, place it over the dough, and fill it with dried beans, rice, lentils, or baking beads to weigh it down. Bake in the preheated oven for 15 minutes. Remove the parchment and weights carefully after baking.
- Blind-bake the tart shell: Return the crust to the oven and bake for an additional 12-15 minutes at the same temperature until the pastry turns light golden brown. Remove from oven and place on a cooling rack. Allow the tart shell to cool completely before filling with ingredients such as pastry cream or lemon curd.
- Storage: Store uncooked pastry dough in the refrigerator for up to 2 days by wrapping it tightly in clingfilm or rolling it into the tart tin and wrapping it. Alternatively, freeze for up to 2 months and defrost overnight in the fridge before use.
Notes
- You can substitute the granulated sugar with a sugar alternative suitable to your dietary needs if desired.
- Using cold vegan butter helps achieve a flakier texture in the pastry.
- The vanilla extract is optional but adds a subtle sweetness and aroma, especially for sweet tart recipes.
- For parbaking, using baking beans or dried legumes can be reused multiple times.
- If making a baked filling tart (like apple or apricot tart), follow the specific recipe’s baking instructions after parbaking.
- Allow the tart to cool fully to ensure the crust remains crisp and sets properly before filling.


